|
Releasing and Acknowledging a transmittal
|   |
After entering necessary details, attaching reports and documents, transmittal is released for approval or review.

Figure: Releasing a transmittal
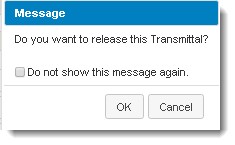
A confirmation message “Do you want to release the transmittal” is displayed. On clicking the checkbox next to the option "Do not show this message again" and releasing the transmittal, this confirmation message would not appear again until the cache is cleared from personal settings.
Once the transmittal is released Transmittal Released Successfully dialog box is displayed.
Transmittal mail window is displayed with all the details filled in. A link to download the document that is transmitted will be inserted in the mail. If files are missing in the link, a warning message some of the files don't have documents attached is displayed while releasing the transmittal. User can proceed and release the transmittal or abort the operation.
NOTE: Expiry date of the link will be the Expected Receive Back date configured for the document. In the case of multiple documents, Expected Receive Back Date may be different. Here expiry date will be the latest Receive Back Date of the documents. In case a transmittal is released without configuring the Receive Back Date, expiry period of the file distribution link will be fifteen days. When a user tries to release a transmittal with expected receive back date less than release date (the one which is editable to user - not the system captured one), a warning message Expected Receive back date is less than received date is displayed. Click OK to continue with the selected Expected Receive Back date. Click Cancel to abort the release of transmittal.
The mail window is displayed in the following figure. Mail content can be formatted using the format painter.
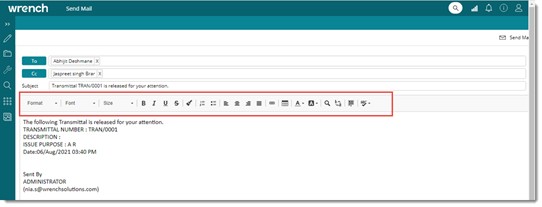
Figure: Mail window
The following window is displayed.
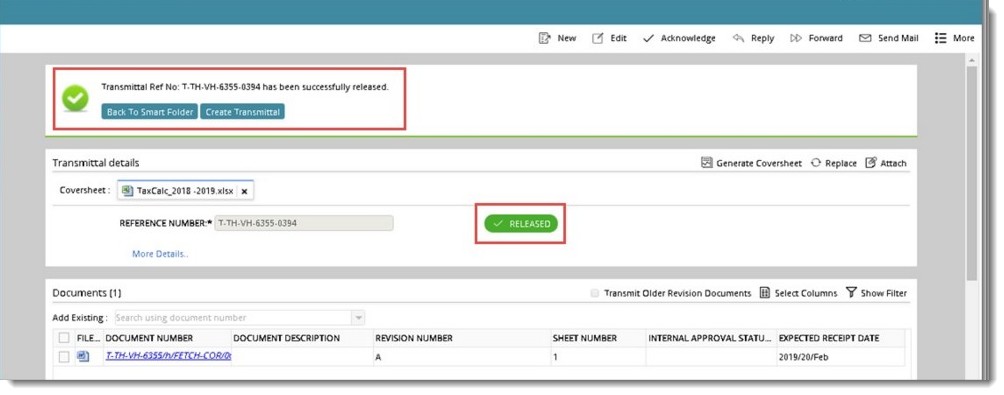
In the window a legend indicating the status of the transmittal as RELEASED is displayed. Options to go back to Smart Folder or create another transmittal is available.
NOTE: Sending of transmittal mail automatically is made possible based on a settings in the Wrench ENT Server control panel settings. If the settings are not defined mails can be sent clicking Options>>Send Mail from the tool bar.
If workflow resources are not supplied while releasing a Release transmittal or General transmittal with send on release enabled following message is displayed.
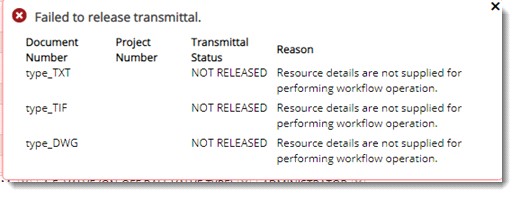
Send on Release: In the transmittal grid columns if the checkbox next to this option is selected, on releasing the transmittal, a document with workflow is sent to the next stage.
NOTE: If coversheet is attached to the transmittal mail then option to convert coversheet to PDF is available in the Send Mail window. On clicking the option Convert To PDF, attached cover sheet is converted to PDF. If there are any logos in the cover sheet they are not displayed in the PDF copy of the cover sheet. Logos will be displayed, if the cover sheet is converted to PDF using WRENCH Utility (WRENCH Desktop Connector.)
The recipient of the transmittal can acknowledge receipt of the transmittal.

Figure: Acknowledging a transmittal
Acknowledge Transmittal window is displayed.
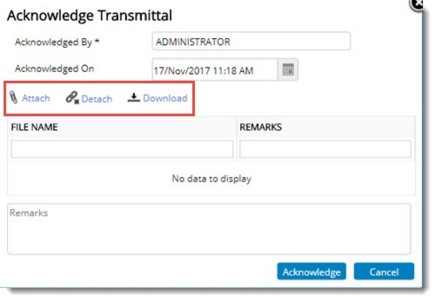
Figure: Acknowledge Transmittal window
The following fields are displayed in window.
A mail is generated with the recipients fields (To..Cc..) filled in automatically.
The following window is displayed.

Before acknowledging the transmittal a remark, comment or note can be attached.
Acknowledgement window is expanded.
The selected file is displayed here.
An attached file can be removed by clicking Detach option and viewed by clicking View.
Modifying custom property of released transmittals
After releasing a transmittal, it may require to modify the custom properties which must also reflect in the transmittal coversheet.
NOTE: Only users from the Admin group can edit a released transmittal
On clicking the edit button, a warning message The Coversheet will be deleted when editing transmittal is displayed.
On clicking OK, the coversheet will be detached and transmittal will be in edit mode. After editing the custom properties click Save button and then attach the coversheet.
 To release the transmittal