- On the meeting details window click Add Users.
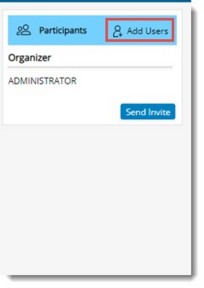
Figure: Adding Users
Add Users window is displayed.
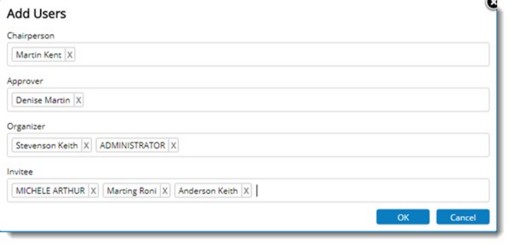
Figure: Add Users window
On the window different roles that can be assigned to a user in a meeting is displayed. Enter users corresponding to different roles. Here as you type, drop-down list with user names is displayed. Select the user name from the list.
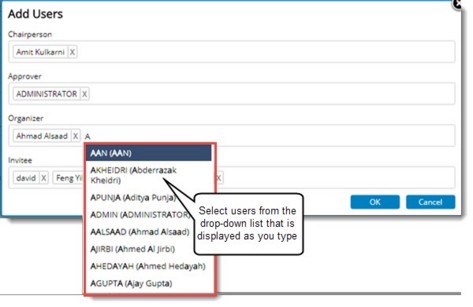
Figure: Entering users for different roles
Following roles are displayed here.
Chairperson: Chairperson will have the most authoritative role in a meeting. Chairperson will be in overall control of the meeting. A meeting can have only one chairperson. Enter a user as the chairperson.
Approver: After chairperson, approver will have prominent role in the meeting. Approver can Approve, Reject and Publish the meeting. There can be multiple approvers in a project. Enter approvers for the meeting.
Organizer: Organiser is the one who practically conduct the meeting. Organizers can perform all operations associated with a meeting. A meeting can have multiple organisers. By default, the person who create the meeting will be the organizer.
Invitee: A meeting should have at least one attendee or invitee. Among invitees, there may be people other than WRENCH users.
- After selecting users for different roles, click OK to complete addition of participants. Different participants are displayed in the Meeting Details window.
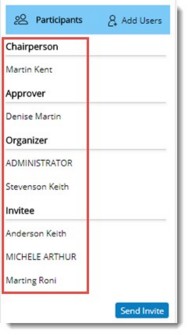
Figure: Inviting Participants
After adding participants next step is to invite the participants. For more information on inviting participants see Inviting Meeting Participants.


 To add meeting participants