|
Mobile App Settings
|   |
In SmartProject® Mobile app user can mark their attendance when they start their work. Attendance can also be marked against a specific project. Since in some organizations project selection may be mandatory, an option to make project selection mandatory while signing in and signing out is available. This is based on a setting that can be configured by the admin users.
To make project selection mandatory while marking attendance
Mark Attendance window is displayed.

Figure: Mobile App Settings
If the setting Project mandatory while marking attendance is selected and users try to sign in or sign out without specifying the project, then a warning message is displayed.
Generating authentication file for single sign on in mobile application
Single sign on for mobile application running on android operating system is configured using an authentication file.
To generate authentication file
A message Configuration file generated successfully is displayed.
An authentication file is generated and inserted in the vault. This file makes possible, single sign on possible for internal users, using devices with android operating system.
Creating a time sheet view for mobile application
A facility for the administrator to create a timesheet view in SmartProject based on the role of the users and assign the views to user groups is also available. When users enter time logs from the mobile application, all the required fields will be available in the time log window.
To create a timesheet view
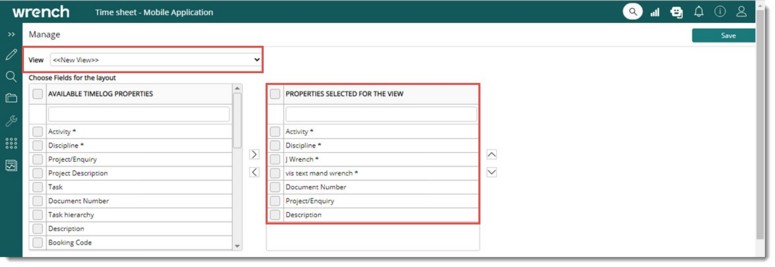
The manage View window is displayed.

Figure: Manage View window
Value for the property View is displayed as New View by default.

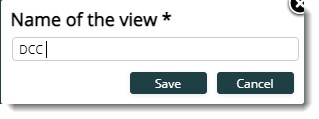
The view is saved successfully.
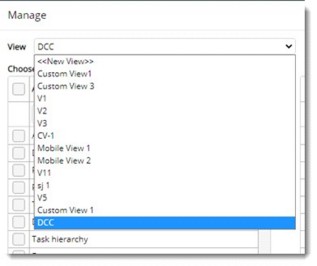
The saved view is displayed in the drop-down list next to the property View.

Creating a view from the existing view
A view can be created from an existing view.
To create a view from the existing view

Figure: Managing view
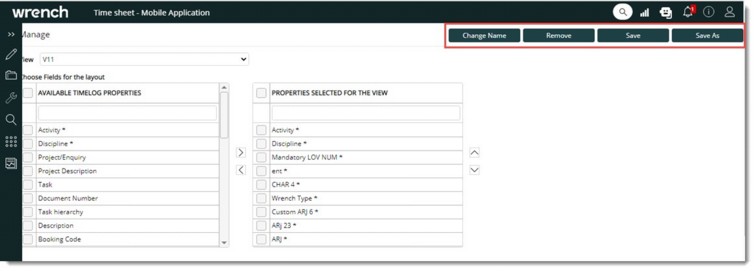
On selecting a saved view, additional buttons are displayed in the Manage View window.

Figure: Manage View window
A window to enter the name of the view is displayed.
Options to change the name of the view and remove the view are also available in the window.