|
You can customise your smart folder grid to choose what information appears in the grid and how you want the listings to be displayed. Different customisation options are displayed when you click the Layout button. On clicking the Layout button an Operations menu is displayed. The items in the operations menu are explained in the following sections.
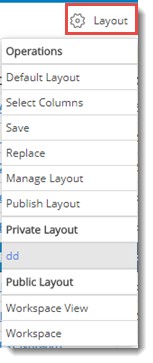
Figure: Operations Menu
Default Layout
A view with a default set of columns would be available as default view. On the menu click Default Layout to change the existing view to default view.
Select Columns
You can choose the columns that have to be displayed in the grid by removing columns from the grid and adding columns to the grid.
To add and remove columns
1.Click Layout.
2.On the pop-up menu click Select Column.
Select Column window is displayed with a list of columns that can be made available in the smart folder grid.
3.On the window select the check box next to a column you want to display. Clear the check box to remove the column from the search result grid.
4.Close the window after making a selection.
Saving the smart folder grid view
Smart folder grid view can be saved and this view can be re-used.
To save smart folder grid view
1.Click Layout.
2.On operations menu click Save.
Save View window is displayed.
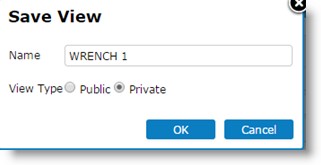
Figure: Saving Views
2.Enter a name for the view.
3.Select a View Type.
4.Select the radio button next to Public or Private depending on your preference. If option Public is selected, the saved view would be available to all users. If the option Private is selected, the view saved would be available only to the user who created it.
NOTE: Only Admin group users can create public views.
5.Click OK to continue.
The saved view is displayed under the group Public View.
NOTE: Views published for a group for this folder is also displayed here.
Managing Layouts
This is a facility to manage the saved views. Here the saved views can be deleted or it can be made visible and invisible.
To manage views
1.On the menu click Manage Layout.
Manage View window is displayed. On the window View Name and type of view (Private or Public) is displayed.
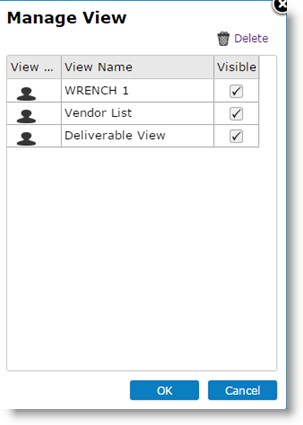
Figure: Manage View window
2.Here you can delete a view and make a view hidden by clearing the check box. The views can be made visible by selecting the check box.
3.You can rename the view by double-clicking the view and entering a new view name.
4.After making the necessary changes click OK to continue.
Publishing Views
Option to publish view allows the administrator to publish views in a smart folder to required user groups. Also a view can be set as default for a user group.
NOTE: Only Admin/Admin group users can publish views.
To publish layout
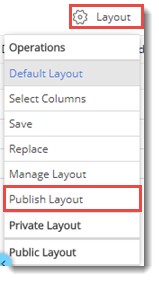
1.On the tool bar click Layout. A pop-menu is displayed.
2.On the menu select Publish Layout.
Publish Smart Folder Layout window is displayed.
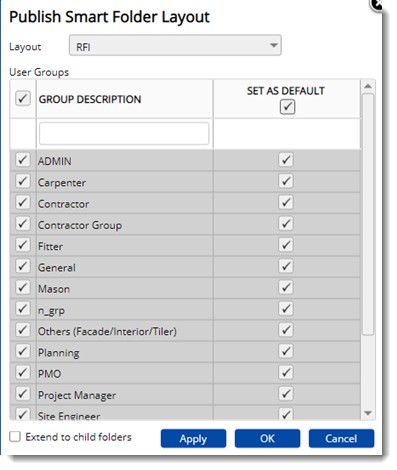
Figure: Publishing Views
3.On the window select a layout from the drop-down list.
4.Select user groups for which the selected view is to be published by selecting the check box next to it.
5.Set a view as default for a user by selecting the check box under SET AS DEFAULT column. Next time users of the group select the smart folder, the folder opens up with the view set as default.
NOTE: If the checkbox under the label SET AS DEFAULT is selected, Set as Default check box next to the selected user groups will be selected. There is no need to select the option separately for each group.
6.Click Apply.
View Published successfully message is displayed. When smart folders are copied and pasted, views published in the source smart folder are also copied to the target folder.
7.Click OK to continue.
NOTE: After selecting a view and selecting user groups, if the user tries to change the view without publishing the view, a warning message The configuration is not applied. Do you want to proceed? is displayed. On clicking “Yes” changes are discarded. On clicking “No” configurations in the window is retained.
|