|
There are scenarios where a resource is replaced by other resource in an organization due to various reasons. As a result, the works also needs to be reassigned to the new user. Hence a facility to reassign the objects from one user to another user in bulk is provided.
To reassign users
1.On the Global menu click Reassign Users.
Reassign Users window is displayed.
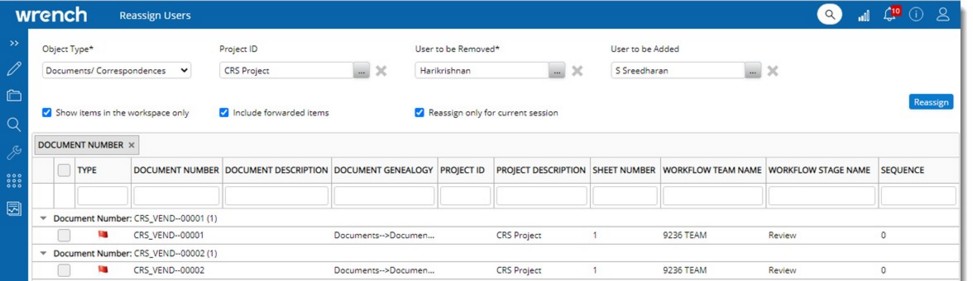
Figure: Reassign window
2.Select an Object Type from a drop-down list. Options available are Document/Correspondence and Tasks.
3.Select the User to be Removed: Click the browse button to select the current user. Once the current user is selected, List of objects are displayed.
4.Select the User to be Added: Click the browse button to select a new user from search user window.
5.Select a Project ID. This is not mandatory.
Show items in the workspace only: On selecting the checkbox next to this option, only those objects where the ‘Currently assigned user’ is in the active stage are listed. When unchecked, all objects where the ‘Currently assigned user’ is assigned to any stage of the current workflow are listed.
Include forwarded items: If the setting is selected, all the items which are forwarded to the selected current user will also be displayed for the reassign users. If the setting ‘Show items in the workspace only’ is not selected, then the checkbox next to the option ‘Include forwarded items’ is unchecked and disabled. When the setting ‘Show items in the workspace only’ is selected, the setting ‘Include forwarded items’ is enabled.
Reassign only for the current session: If the checkbox next to this option is selected, the users reassigned in the current stage will not be included in the next review cycle. This means the original recipients will be retained in the next review cycle. The setting ‘Reassign for the current session only’ is available only for the current stage. Hence the check box is enabled only when the setting Show items in the workspace only is enabled. When the setting is disabled, the setting Reassign for the current session only is disabled.
1.Select the checkbox next to the items for which resources are to be reassigned.
2.Click Reassign.
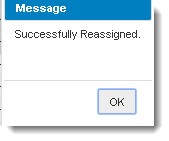
Successfully reassigned message is displayed.
Notification mails are send to the users who are reassigned. In the mail that is send on reassigning a resource to a workflow stage, external and internal links to open the access the document is available.
To reassign forwarded items from the current user
1.Select the checkbox next to the option Include forwarded items.
2.Select the items to Reassign and select a new user.
3.Click Reassign. The selected items (which are forwarded) are reassigned to the new user
Once the items are reassigned successfully, those items will be displayed in the workspace of the new user and the value in the column ‘ACTION/INFO’ will be displayed as ‘Forward’ against the respective items.
|