|
Documents can digitally signed and stamped online using Wrench viewer. Sign and Stamp option is available in Document Smart folder, Document Details window and Document Search window.
To sign a document
1.On the smart folder select the document for signing.
2.On the options menu under the group documents click Sign.
Selected document is opened in SmartProject Document viewer, with the sign options toolbar enabled.

Figure: SmartProject Document Viewer
3.On the toolbar click Select Location.
4.Location marker is enabled. Mark the location where the sign is to be inserted.
5.After marking the location click Insert Sign. Signature is inserted in the desired location.
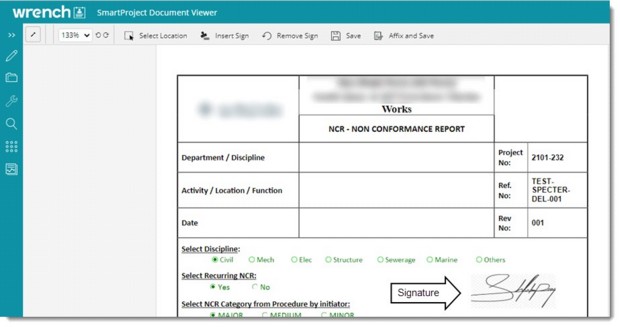
Figure: Inserting Signature
6.Click Save to save the inserted signature in the file. On clicking Save, the inserted sign will be saved to the file and a success message is displayed.
7.Click Affix and Save to save and affix the sign inserted in the file. The inserted sign will be affixed to the file and a success message is displayed. When the file is opened using adobe viewer the position of the sign in the file cannot be changed.
Warning and messages
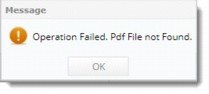
If the document selected for signing is not a PDF document, the following warning message is displayed.
If the document selected for signing have not specter files attached, the following message is displayed.
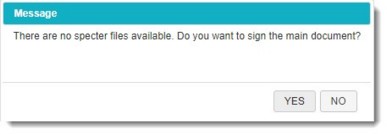
1.Click YES to sign the main document. Click No to cancel the operation.
In the file selected for signing is a PDF document, and multiple specter files are available then the following message is displayed.

On clicking Yes, the main document is opened in the viewer for signing. On clicking No, File Selection window is displayed with multiple spectre files listed.
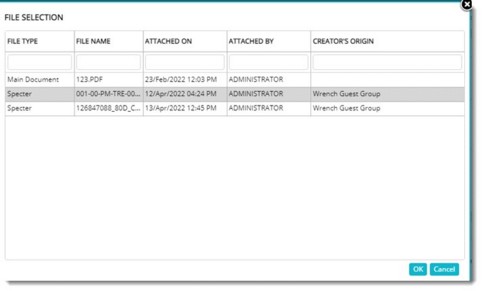
Figure: File selection window
2.Select a file and click OK.
In the file selected for signing is a PDF document and is a Consolidated Comment document, file selection window is displayed, where user can select the consolidated comment file for signing.
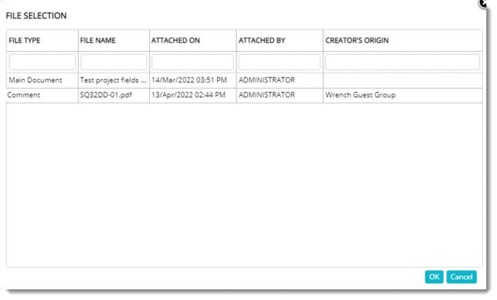
Figure: File selection window
To stamp a document
1.On the smart folder select the document for stamping.
2.On the options menu under the group documents click Stamp.
SmartProject Document Viewer is displayed.
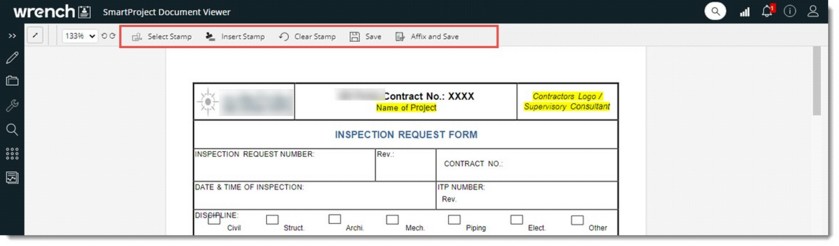
Figure: SmartProject Document Viewer
On the window a toolbar with different stamping options is displayed.
3.Click Select Stamp.
List of Stamps window is displayed.
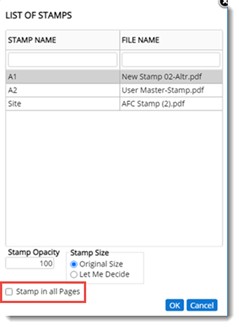
Figure: List of Stamps window
4.Select a stamp from the list.
Options to select the opacity of the stamp and size of the stamp are also available.
5.After making all the selections click OK.
6.On the document select the page where the stamp is to be inserted.
7.Click Insert Stamp.
NOTE: If the checkbox next to the option Stamp in all pages is selected, the stamp inserted at the specified location on the document is applied to the remaining pages also.
Stamp is inserted in the selected page.
On the Stamp Size options, if the option Let me Decide is selected, option to define the size of the stamp is enabled.
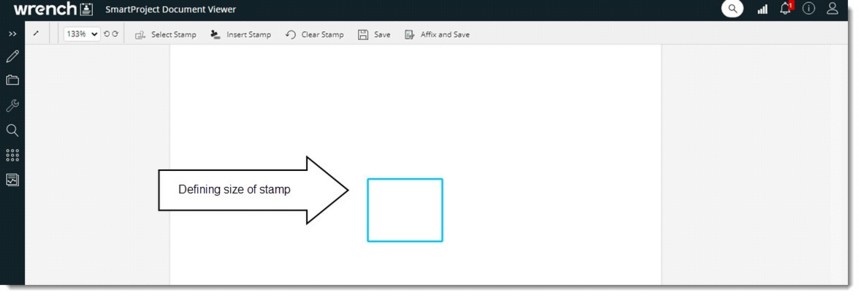
Figure: Defining stamp size
1.Mark the required size and click Insert Stamp. Stamp is inserted in the defined dimension.
2.Click Save to save the stamp to the file.
3.Click Affix and Save to affix the file to the document and save the stamp.
|