|
Different organisations will have different templates in which they collect vendor details for registration. These HTML templates can be created dynamically. The vendor registration team members as well as administrators will have access to this.
To open the template creation window
1.On the Vendor Details window click the tab Templates.
Templates window is displayed.
On the window, available templates are displayed in the column HTML TEMPLATE as hyperlinks.
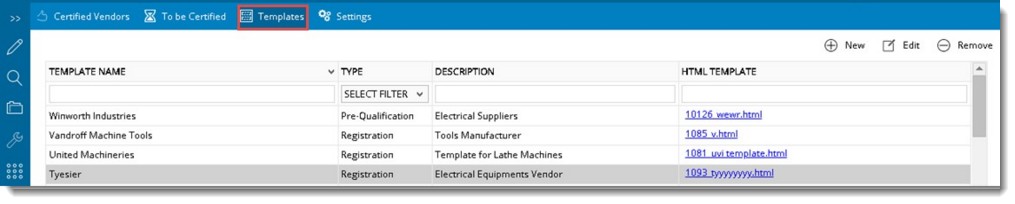
Figure: Template List window
To view a template
1.On the Template Details window, click the template hyperlink that is to be viewed.
Template Preview window is displayed. Here a preview of the template will be available.
To create a template
1.On the tool bar click New.
Template Details window is displayed.
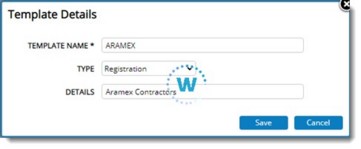
Figure: Template Details window
2.On the window enter values for the following fields.
Template Name: Enter a name for the template.
Type: Select a template type from a drop-down list. Option available are Registration and Pre-Qualification.
Details: Enter the template details.
3.After entering the values click Save.
On saving the template details a new button Create Template is displayed in the window
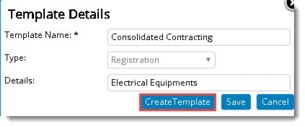
4.Click Create Template.
Template Creation window is displayed.
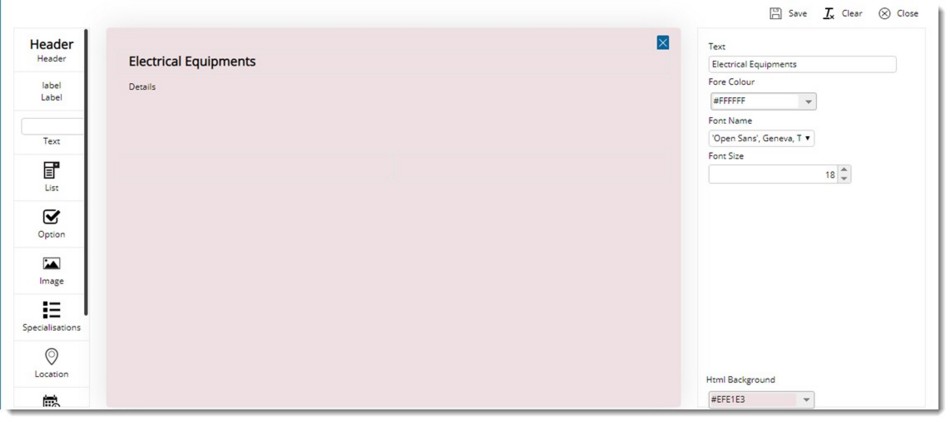
Figure: Template Creation Window
On the window, different tools for designing a template is available. On the left pane elements that can be added to the HTML template will be available. On the middle pane which functions as a canvas, user may arrange the elements to create the HTML template. On the right pane properties can be entered for the selected elements. Drag the required element template on the left pane to add the element to the HTML.
The following items can be added to the HTML template.
Header: Drag the option Header to the position where the header is required and in the right pane where properties can be defined, enter the text that is to be displayed in the header.
Label: Drag the option Label to the required position and enter the text that is to be displayed as the label.
Text: Drag the option Text to the required position and enter the text that is to be displayed. On the late pane select the properties for the text that will be displayed.
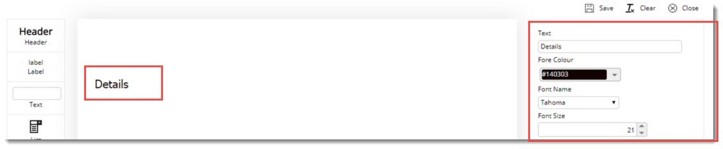
Figure: Creating a facility to enter text
List: Drag the option to the required position and create a drop-down list. On the right pane properties can be defined for the drop-down list. Click Add to add items to the Items List.
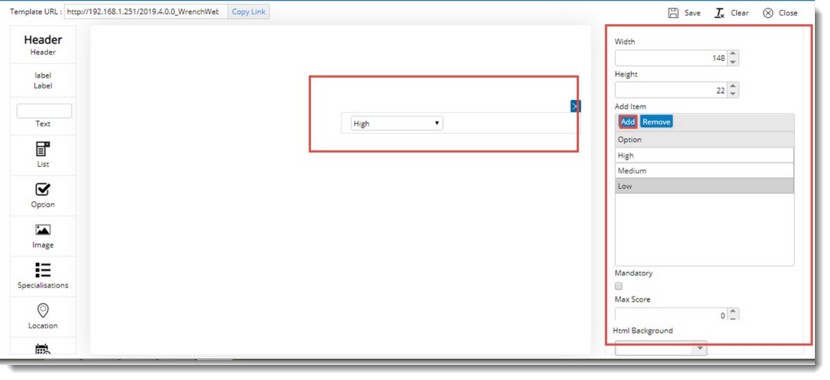
Figure: Creating a drop-down List
Option. Drag the option to the required position to create an option with values Checked and Unchecked. Select the option State if the checkbox is to be selected by default. Also the option can be made mandatory by selecting the checkbox next to Mandatory.
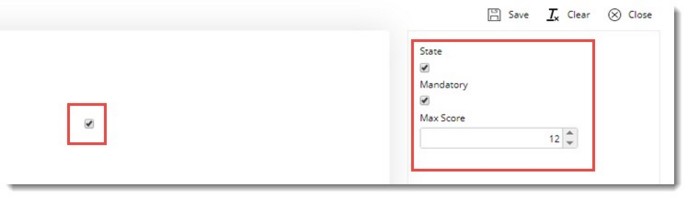
Figure: Creating a facility to select Option
Image: Drag the option to the required position to create a placeholder for inserting an image. The URL to access the image can be specified in the right pane.
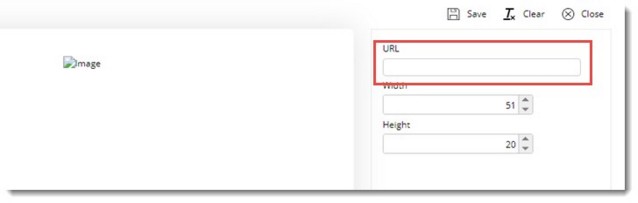
Figure: Creating placeholder for image
Specialisations: These are typically used in pre-qualification templates. On dragging this option to the canvas, list of available Specialisations will be displayed in the right pane from which the required ones can be selected.
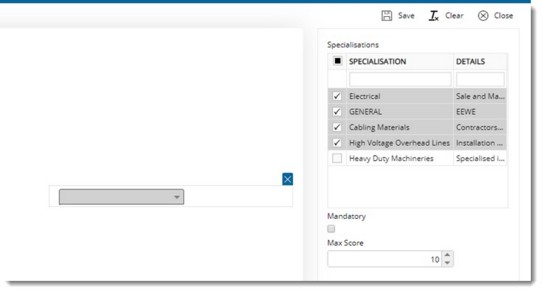
Figure: Creating facility for Specialisations
Location: These are typically used in pre-qualification templates. User will be displayed with a list of available locations, from which the required ones can be selected. Once selected, a table will be added to the canvas.
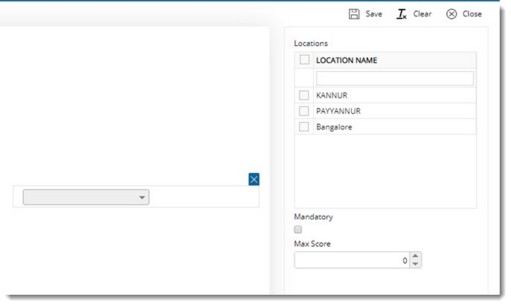
Figure: Creating a facility to select Location
Date: Drag the option to the required position to create a date picker.

Figure: Creating a facility to insert date picker
Starting Date and Ending Date in the date picker can be selected here.
Line: Drag this option to insert a line in the template. Thickness and Length of the line can be defined from the properties displayed in the right pane.
Attachments: Drag this option to the required position to create a facility to add attachments.
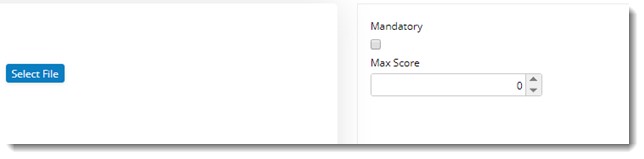
Figure: Creating a facility add attachments
At the bottom of the property panel, a drop-down to set the background colour of the canvas is available. On clicking the down-arrow, a colour palette will be displayed. Select the background colour from the palette.
5.After designing the template, click Save. Template saved successfully message is displayed.
A vendor management template is created successfully. Template URL will be displayed at the top of the window. This link will be published to the vendor for the purpose of registration.

Click Copy Link to copy the URL.
Vendor Registration Process
The link to access the Vendor Registration Template can be made available in the organization website or can be mailed to the vendor.
To register as a vendor
1.Click the provided link. Vendor Authentication window is displayed.
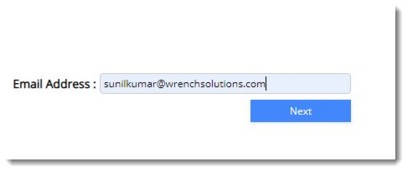
Figure: Entering email address
2.Here enter the Email Address and click Next.
3.On the window that is displayed enter the OTP you received through email.
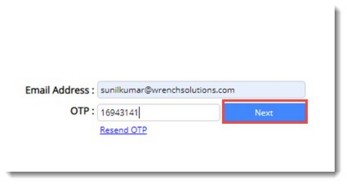
Figure: Entering OTP
4.Click Next to continue.
Once the valid OTP is provided, there will be provisions to create a password.
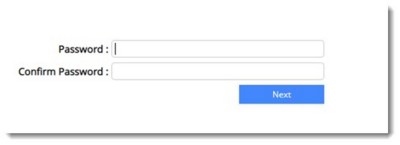
Figure: Creating a Password
5.Enter a Password and re-enter the password to confirm.
6.Click Next. Vendor Registration form is displayed.
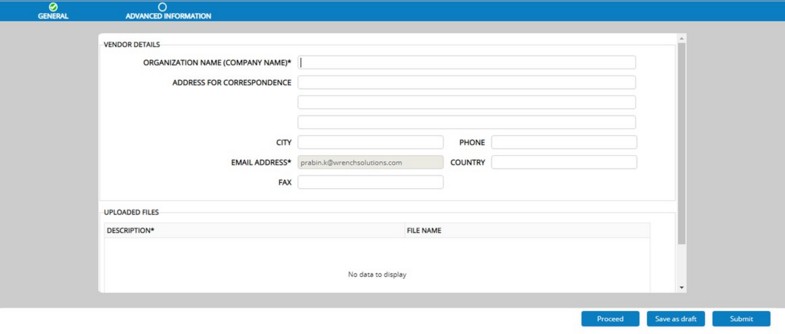
Figure: Vendor Registration Form
7.On the upper part of the form enter organization details. This includes Organization Name, Address and Contact details.
8.Click Add Files to attach reference files. Provide Description for the attached files.
9.Click Remove Files to remove the attached files.
10.After entering the values click Proceed. Advanced Vendor Information Registration Template is Displayed.

Figure: Entering Advanced Vendor Registration Information
11.Enter values for the following properties in the Vendor Registration Form. After entering the values click Submit.
12.The following message is displayed. Click YES to continue.

13.Submitted Successfully message is displayed. Click OK.
The submitted request will be displayed in the To Be Certified window.

Figure: Viewing submitted request
Vendor Management team can Certify or Reject the submitted request.
For more information on certifying vendors see Certifying Vendor.
|