|
Security helps organizations reduce the risk of security threats. With simple, prescriptive, and robust security capabilities, SmartProject helps organizations easily adopt and secure their vital Project data.
All operations in SmartProject are controlled with certain security rights assigned from the Security Center. Security can be enforced by assigning rights for each module. Security rights are assigned at User or User Group Levels
Modular Security
Security rights can be assigned for different modules in SmartProject. Modular Security can be assigned at User Group or User levels.
Security can be assigned for the following modules:
Change Proposal
Cost
Dashboard
Documents
Enquiry/Project
File Manager
Issue
Live Review
Masters
Minutes of Meeting
NCR Quality
NCR Safety
Package
Reports
Risk
Smart Folders
Snag
Submittal
Task
Timesheet
Transmittal
Work Breakdown Structure
Workflow
NOTE: Security preference is always for the User. If a specific security has been assigned to a Group but denied to the User, then the user cannot access the object. If security is specified for a Group and is unspecified for the User, then the user can access the object based on the group rights.
Three common scenarios on assigning security right is discussed in the following section.
1.The User is assigned the security rights.
2.The User is denied the security rights.
3.The security is unspecified for the User.
For Example:
Case 1: User A is a part of Designer group. Designer Group has the permission and the User A doesn't have permission to edit a drawing. But the user A will not have the permission to edit based on the user rights.
Case 2: User A has the permission to edit a drawing. But the Designer group has no permission. But the user A will have the permission to edit.
Case 3: The edit permission for user A is unspecified. But the Designer group has the permission to edit. Then the user A will have the permission to edit.
Managing Modular Security
The Modular Security can be edited only by user's with administrative rights. The following table displays the security settings.
|
#
|
Settings
|
Description
|
|
1
|
List of User Groups or User
|
All the User Groups present in Users List is shown.
|
|
2
|
List Of Modules
|
The modules for which the security can be assigned is listed.
|
|
3
|
Security Settings
|
A list of access rights that can be assigned for each module are displayed here.
If you want to assign a security you can select the respective check box
|
Click User Group based Security, if security has to be set for a User Group. If Security has to be defined for a User, then click User based Security.
Select the Group or User, Select one function. For Example: Project Management from the list of functions.
Select the specific Security Setting. For Example: Create, Manage by selecting the check box next to it. The user may also select "Select All" or "Unspecified" or "Deselect all". If a user has an "Unspecified Security" and the User Group has been given Modular Security rights, then user has the Security rights for that function.
Select multiple users or groups using the CTRL key.
Opening the Security Center
To open Security Center,
1.On the “Global Menu” click “Utilities”.
2.On the Utilities menu, click “Security Center”.
The Security Center window is displayed.

Figure: Security Center
Details of security right that can be assigned to users or user groups for modules in SmartProject is discussed in the different sub-topics separately.
Generating security report
The security report gives detailed information on the Modular Security rights in each module assigned to a specific user in Wrench Smart Project.
To generate Security report,
1.On the Security Center window, select the required Module and click on “Security Report”.
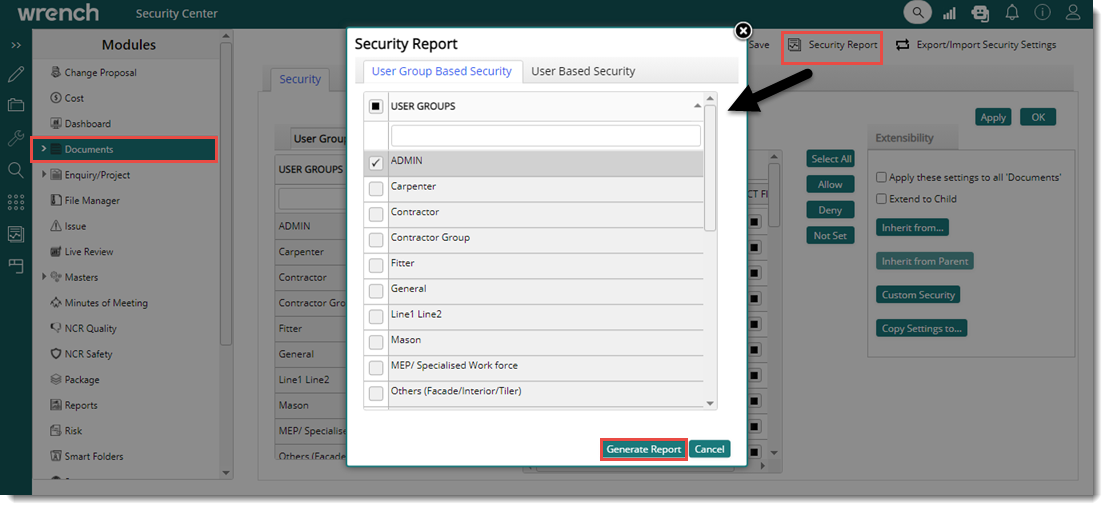
Figure: Security Report0
2.Select the “User” or “User Group” Level.0
3.To generate report, click on “Generate Report”.
Security Status report is processed in the background. The following message is displayed.
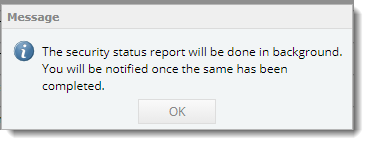
4.Click OK to continue.
The user receives the notification with the generated report attached to it.
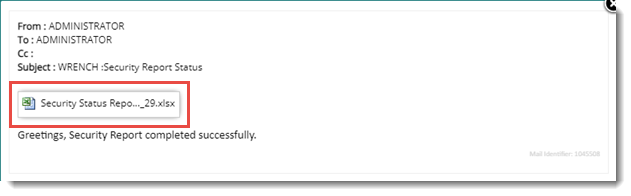
Figure: Notification window
5.Open the excel file to view the report. A security status report generated for a document is shown in the following figure.
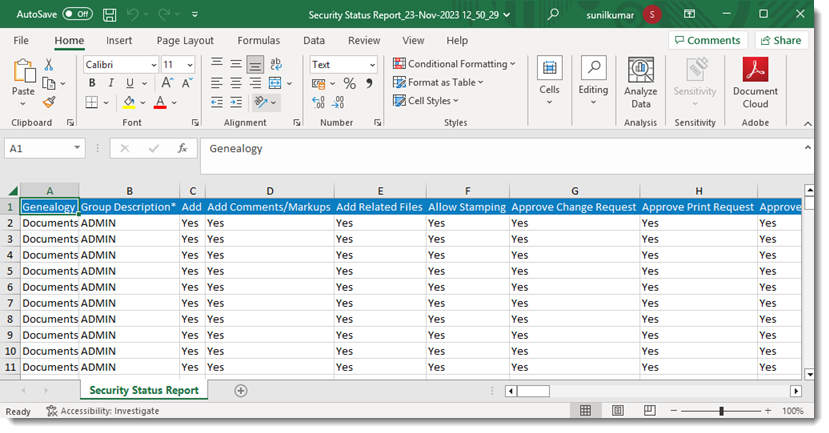
Figure: Security Status Report-Documents
|