|
Vendors
|   |
|
Vendors
| |
SmartProject comprehensively manage human resources from vendors also. Vendors may have a number of contact personnel for various interactions. Operations in SmartProject may even necessitate them to participate by logging in. Such Contact personnel in SmartProject are considered to be authorized SmartProject users and they are given an access to SmartProject accordingly. SmartProject also maintains basic details such as name, address etc. about the vendors.
New Vendors can be added to SmartProject.
To add new vendors
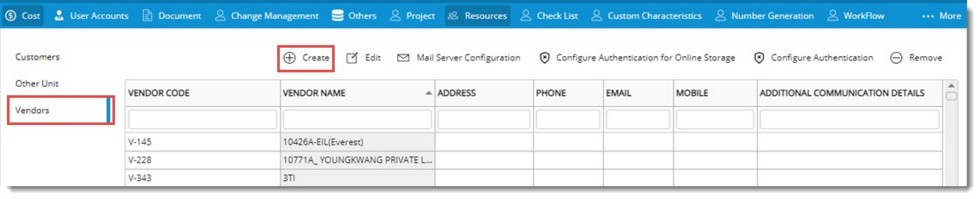
Figure: Adding a vendor
Add Vendor window is displayed.
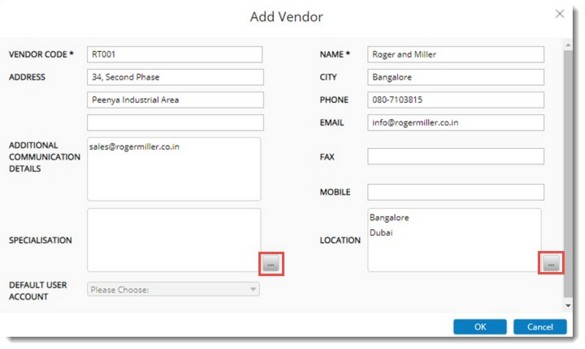
Figure: Add Vendor window
Vendor details is added to the Certified Vendors list.
NOTE: For vendors added in this manner, template will not be present.
Editing and removing vendor details
Vendor details can be edited and a vendor that is not in use can be removed.
Email settings and authentications can be configured for Vendors. The procedure for this is similar to that in Vendors and Customers. For more information see the topics Configuring authentication for Vendors , Configuring authentication for online storage and Configuring email settings for Vendors.
 To edit vendor details