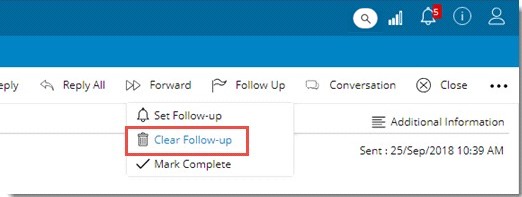
- On the correspondence window click Follow-up>>Set Follow-up.

Figure: Flagging Correspondence
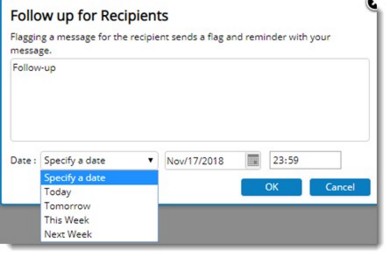
Follow Up window is displayed.

Figure: Follow-up window
- Select a date for follow up.
Following options are available in the drop-down menu.
Specify a Date: On selecting this option a date can be selected from the date picker available in the window.
Today: On selecting this option, the selected correspondences will get flagged for follow-up on the current date.
Tomorrow: On selecting this option, the selected correspondence will get flagged for the next date. The dates will be based on the user’s notification calendar because this is a personal activity and therefore does not take the project calendar. If the user calendar is not configured, organizational calendar is considered for calculating the date.
This week: On selecting this option, the selected correspondence will get flagged for the current week. The start date will be two days from the current date and due date will be the last working date of this week.
Next week: On selecting this option, the selected correspondence will get flagged for the next week’s last working day. The start date will be the first working day of the next week and due date will be the last working date of the next week.
- Enter a follow up message. Default message available is Follow Up.
- Enter a time for follow up. Recipients will receive a notification at this time.
- Click OK to save the follow up settings.
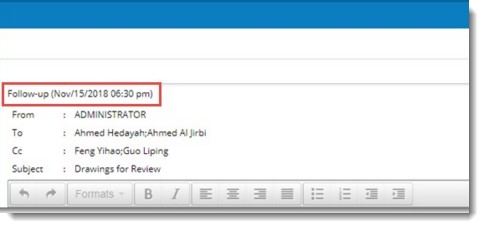
After entering the follow up options, when the correspondence is saved, the follow up information which the recipients will be receiving is displayed in the Compose window as shown in the following figure.
NOTE: It is possible for the recipients to set Follow-up flags for correspondences. Recipients can select the Set Follow-up option from the inbox or the correspondence compose window.

Figure: Follow-up information
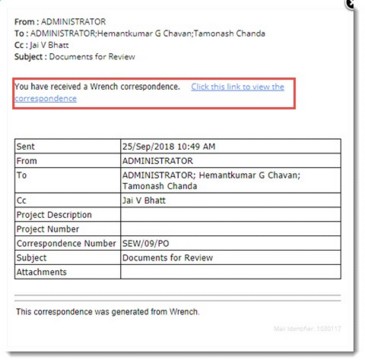
When the recipient opens the correspondence follow up details will be displayed in the correspondence window.

Figure: Follow up details
If the users have a follow-up that is set by the sender of the correspondence. a bell icon is displayed in the column ‘Flag’ in the inbox smart folder This will be available only for To. Recipients.


