|
Different basic account related details of an individual user can be altered from here. The following operations can be carried out from this section.
Reset Password
User can change the existing password and define a new password for the user.
To reset the password
1.On the Personal Settings window, click the group Accounts.
2.Click Reset Password.
Reset Password box is displayed.
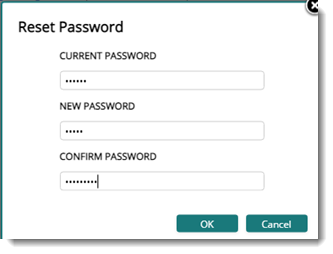
Figure: Resetting Password
3.Enter the existing password.
4.Enter the New Password.
5.Enter the new password once again to confirm the new password.
6.Click OK to continue.
NOTE: For resetting of the password to be successful, it is mandatory that the existing password should match with the current password and new password you entered should match with the password entered for confirmation.
Default Server
The server to which you want to connect when you log in is defined here.
To select a default server
1.On the Personal Settings window, click the group Accounts.
2.Click Default Server.
Default Server selection window is displayed.
3.Click the down-arrow to select a default server from the list.
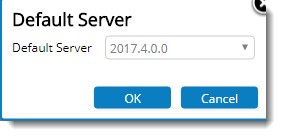
Figure: Selecting a default server
4.Click OK to continue and save changes.
Page on Startup
The page that is to be displayed when the user sign in to SmartProject can be selected here.
To select the pagae on startup
1.Click the hyperlink Page on Startup.
Page On Startup window is displayed.

2.Select a page from a drop-down list. Options available are HOME and DASHBOARD.
3.After selecting a page click OK to save changes.
Configuring Signature
A signature file can be selected. The selected signature file will be inserted when you insert a signature on a document.
To select a signature file
1.On the Personal Settings window, under the group Account click Configure Signature.
Upload Signature window is displayed.
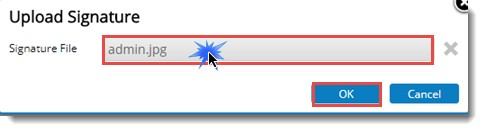
2.On the window click Select a file.
3.Select the signature file from the location where it is saved.
4.After selecting the file click OK.
Signature file is selected successfully.
Configuring checkout path
A checkout path for storing documents online can be specified here.
To define a checkout path
1.On the Personal Settings window under the group Account click Default Checkout Path.
A window to enter Default Checkout Path is displayed.
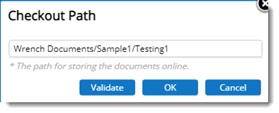
Figure: Entering check out path
2.Enter the path.
3.Click Validate to check whether the user-provided path is correct or not. If the user-provided path is validated, a message Specified storage location is valid is displayed
The documents checked out for online editing will be checked out in the path specified.
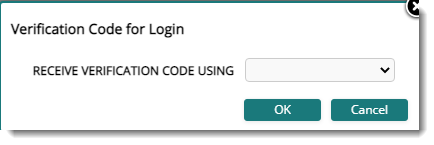
Verification Code
If this option is selected, in Administrative Settings window, this option is enabled here. Verification code for login, using username, password and verification is enabled. Verification options can be selected from a drop-down list. Options available are Email, Mobile App and SMS. By default, Email is selected.
|