|
For smooth working of the application it is necessary that proper settings are defined and proper configurations are carried out. Different setting related to users and user groups are defined here.
Different items and configuration that can be carried out for each of these items are displayed on the left pane. On clicking an item on the options bar, settings corresponding to the selected item are displayed on the right pane.
NOTE: The settings and configurations mentioned here can only be defined by the administrator. In addition ensure that a User or User group is selected prior to carrying out these operations.
To open the administrative settings window
1.On the Global menu click Utilities.
2.On the pop-up menu click Administration.
Administrative Settings window is displayed. Different options on the window are arranged under tabs. Based on the different settings options are available on the left pane. Option Application Settings and tab Genealogy is selected by default.
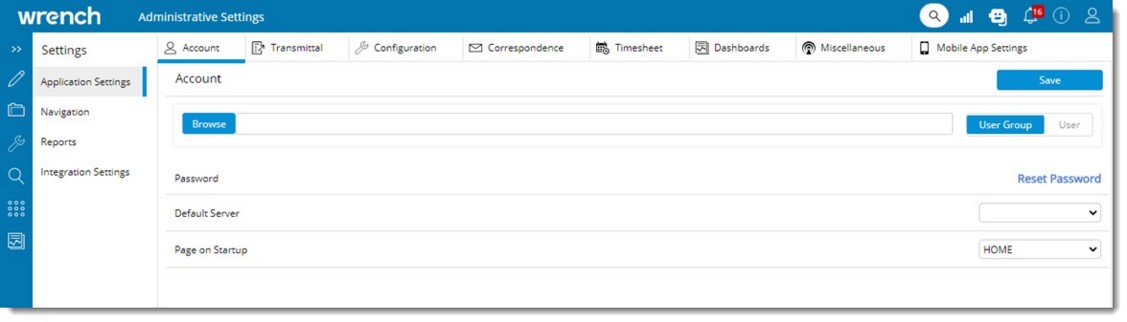
Figure: Administrative Settings menu
On the Administrative Settings window, different configurations can be made and preferences can be set. This can vary for different organizations.
Application Settings: This settings option is selected by default. Settings can be defined for the following options.
•Account
•Transmittal
•Configuration
•Correspondence
•Timesheet
•Dashboards
•Miscellaneous
Navigation: Here different menu options can be defined fro the following items.
•Global Menu
•Task Details
•Document Details
•Smart Folder
•Search
•Project
•Home Page
•Mobile Page Configuration
Reports: Here log of operations can be generated for different objects in SmartProject. On selecting this option only the following item is displayed.
•Operation Log.
Integration Settings: Here integration settings can be defined for the following items.
•Bluebeam
•Google
•MS Outlook
|