|
Options for configuring different properties related to tracking of correspondences and configuring correspondence signature are available here. You can configure settings for incoming and outgoing correspondences.
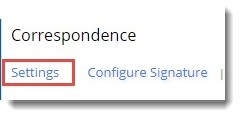
To open the correspondence settings window
1.On the Personal Settings window, under the group Correspondence click Settings.
Correspondence Settings window is displayed.
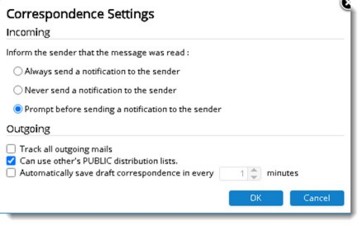
Figure: Correspondence Settings
Settings for incoming correspondence
If tracking mail option is enabled while sending a correspondence, you can inform the sender that the correspondence was read. You can select one of the options from the following and based on your selection the notification option is configured.
Always send a notification to the sender: This option is selected by default. If this option is selected, the sender of the correspondence is notified once the mail is opened by the receiver.
Never send a notification to the sender: If this option is selected the sender of the correspondence is not notified when the mail is opened by the receiver.
Settings for outgoing correspondence
The following settings are available for outgoing correspondence.
Track all outgoing mails: On selecting the checkbox next to the option , tracking option is enabled for all the mails you sent.
Can user others PUBLIC distribution list: On selecting the checkbox next to this option the logged in user will be permitted to use public distribution list of other users.
Automatically save draft correspondence in every << >> minutes: On clicking the checkbox next to this option draft copies of correspondence is saved automatically to prevent loss of content when there is a failure during the final save.The duration in which the automatic save is to happen can be entered as minutes. System will automatically save the correspondence based on the auto save frequency specified in the personal preference. If mandatory properties are not specified, system will display a warning message.
Configuring Correspondence Signatures
You can create personal signatures and assign the signature to different correspondence operations. Signatures can be configured for New Correspondence, Reply and for Forward Correspondences.
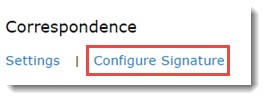
To configure signature
1.On the Personal Settings window, under the group Correspondence, click Configure Signature.
Correspondence Signature window is displayed. Here you can create a signature and save it.
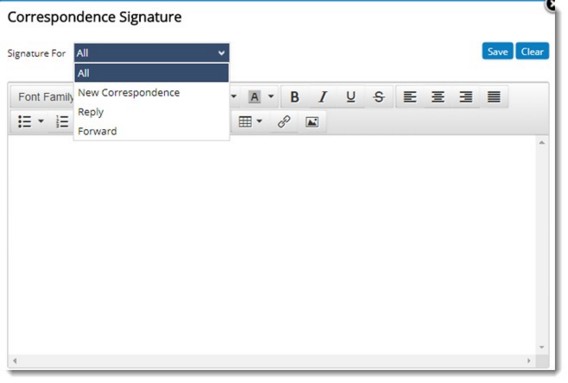
Figure: Correspondence Signature window
2.Select an operation to which you want to assign the signature.
3.Enter the signature body. This is mandatory.
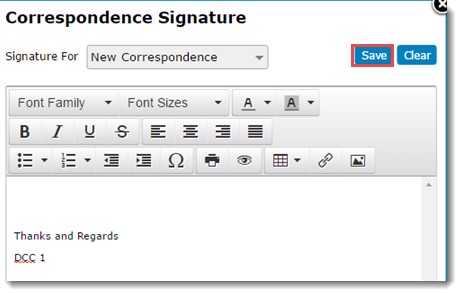
4.After entering the details click Save.
Signature is configured successfully.
Now when the correspondence is saved, the configured signature and mail body is automatically inserted in the correspondence.
Creating an address list
There are scenarios where the user group (address list) needs to be created at project level and user level for correspondence which consists of the frequently used resources (Internal and external resources). Hence facility to create address list.
To create an address list
1.On the Correspondence group click Address List.
Address Lists window is displayed.
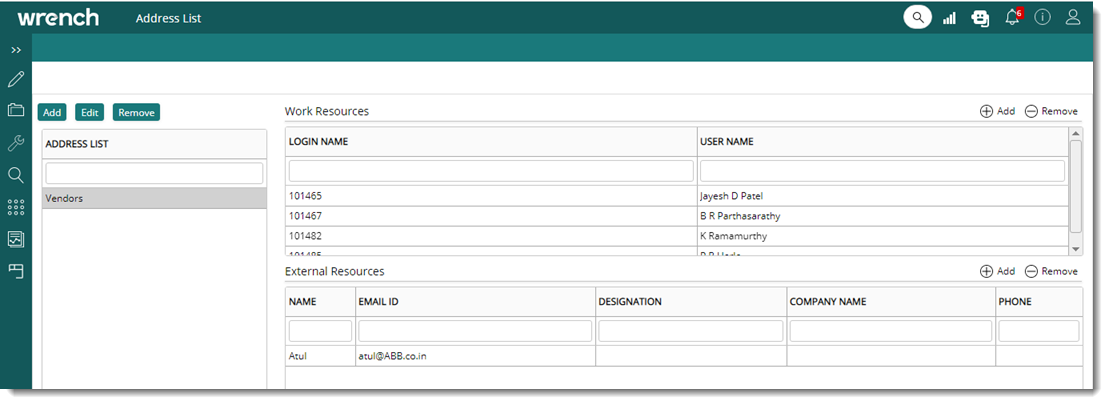
Figure: Distribution Lists window
Here address lists already configured is displayed. On selecting an address list Work Resources and External Resources under a list is displayed.
Also user can create an address list here.
To create an address list
1.On the Address List section click Add.
Address List window is displayed.
2.Enter the address list name.
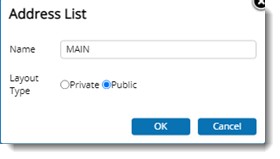
3.Select a View Type. Address List can be saved as Public or Private by selecting the radio button. If created as Public, the created address list will be available for all the users in WRENCH. If created as ‘Private’, the address list will be available only for the creator.
4.Click OK.
An address list is created and will be displayed in the address list window.
Adding resources to an address list
Resources can be added to a address list. Work resources and External resources can be added to the address list.
To add work resources
1.Select an address list to which the resources are to be added.
2.On the Work Resources section of the Address Lists window click Add.
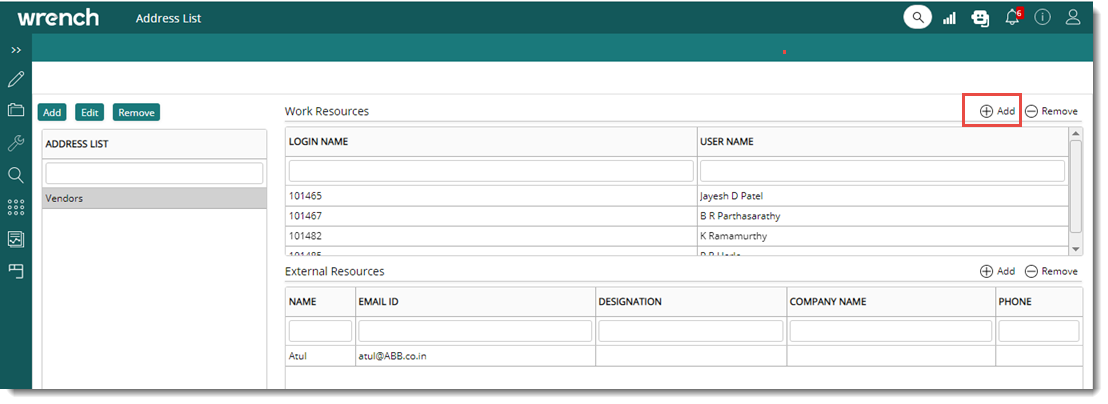
Figure: Adding Resources
3.Search User window is displayed. On the window search and select the required work resources.
Selected resources will be displayed in the Work Resources window.
To add external resources
1.Select the address list to which the resources are to be added.
2.On the External Resources section of the Address Lists window click Add.

Add External Resources window is displayed.
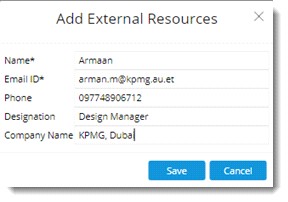
3.On the window enter details of the external resource and click Save.
Added resource will be displayed in the External Resources section of the address list window.
|