|
Pre-qualification is the procedure for qualifying certified vendors for supplying items to a project. Based on the location of project and list of items to be sourced, vendors are short listed so that they can be invited to participate in bids. Prequalification process is explained in the following sections. Follow the navigation table to view different sections.
Navigation Table
Opening prequalification window
Prequalification is carried out from the Project. Prequalification window is opened from the Project Properties window.
To open pre-qualification window
1.On the Project options menu click Prequalification.
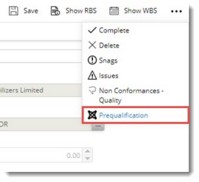
Vendor Pre qualification window is displayed.

Figure: Vendor Prequalification window
On the window, existing prequalifications will be displayed. Details displayed includes RFERENCE NUMBER, DESCRIPTION, VENDOR INPUT, FINAL DATE FOR SUBMISSION and STATUS.
To create a pre qualification
1.On the window click New.
Prequalification Details window is displayed.
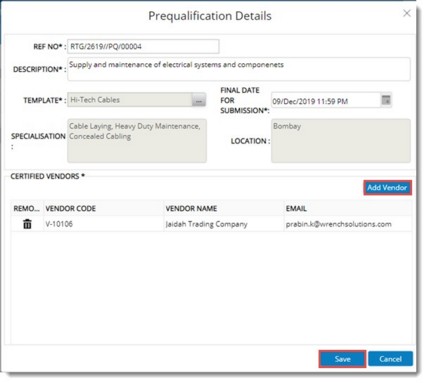
Figure: Prequalification Details window
2.On the window enter values for the properties mentioned in the following table.
|
#
|
Property
|
Description
|
|
1
|
REF NO
|
Automatically generated unique reference number of the prequalification. This can be overridden by the user.
|
|
2
|
DESCRIPTION
|
Enter a description for the pre qualification.
|
|
3
|
TEMPLATE
|
Select a pre-qualification template.
To select a template
1.Click the browse button. Search Templates window is displayed.
2.Select a template from the window.
Selected template is displayed here.
|
|
4
|
FINAL DATE FOR SUBMISSION
|
Select the date within which vendors are to submit their proposal from a drop-down list.
|
|
5
|
SPECIALISATION
|
On selecting a template, specialisation specified in the template will be automatically listed in the specialisation field.
|
|
6
|
LOCATION
|
On selecting a template, location specified in the template will be automatically listed in the location field.
|
|
7
|
CERTIFIED VENDORS
|
List of certified vendors will be displayed here.
Click Add Vendor to select a vendor from the Search Certified Vendors window.
|
3.After entering the values click Save. Template is created successfully.
On the window status is displayed as Created.
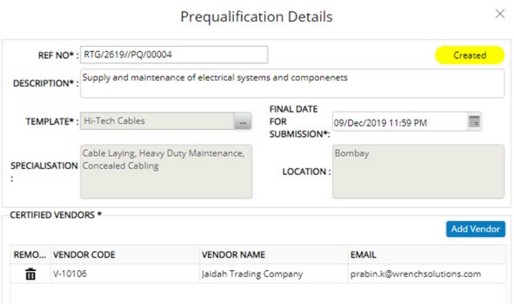
Created prequalification is displayed in the window.

Figure: Created Prequalifications
Publishing a Prequalification
Once the prequalification details are appropriately furnished, it can be published to the vendors.
To publish a prequalification
1.Select one or multiple prequalification items and click ‘Publish’ to publish them.

Figure: Publishing a prequalification
A message Selected Items Published is displayed. When successfully published, emails will be sent to individual vendors in the pre qualification template defined earlier.
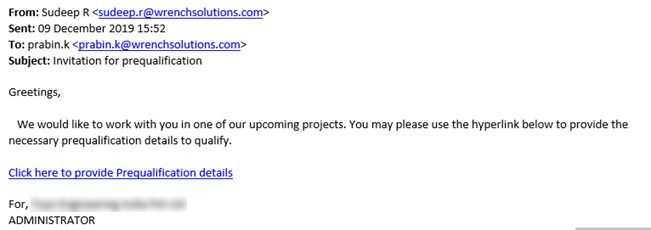
Figure: Notification Mail
Providing pre-qualification details
Once a vendor received the notification mail, pre-qualification details can be provided.
To provide prequalification details
1.Click the hyperlink Click here to provide Prequalification details.
Option to enter vendor email id is displayed.
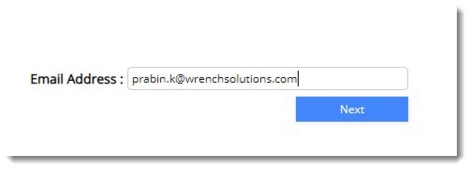
Figure: Entering email address
2.Enter email id and click Next.
3.On the window displayed enter password and click Next.
4.Option to enter and confirm password is displayed. Enter the password and click Next.

Figure: Entering password
Prequalification Form is displayed.
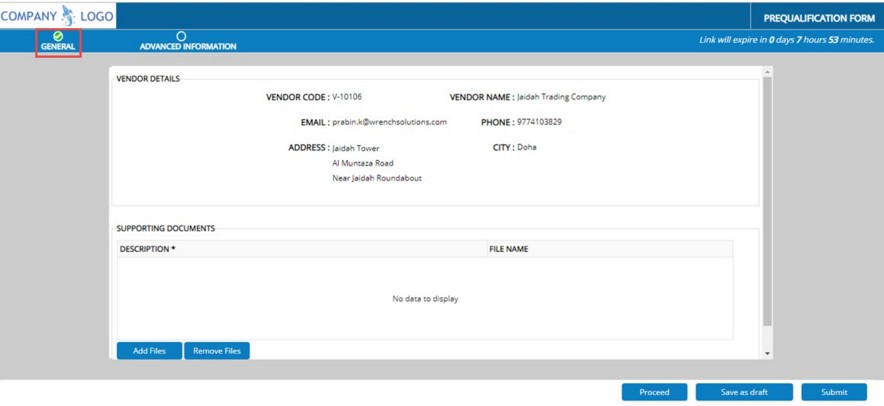
Figure: Pre-qualification Form
General tab is selected by default. General Vendor details are displayed here.
5.Click Proceed. Advance Information Tab is displayed.
6.Enter values for different fields in the advanced template.
7.Click Submit.
8.A confirmation alert is displayed. Click Yes to submit the form.
9.Submitted successfully message is displayed. Click OK to continue.
Evaluating Vendors
User may select a single pre-qualification and consolidate details specified by vendors. Consolidation is not allowed until the ‘Last submission date.
To consolidate a pre-qualification
1.Select a pre-qualification to evaluate.
2.Click Consolidate.
Evaluation of Vendor Score window is displayed.
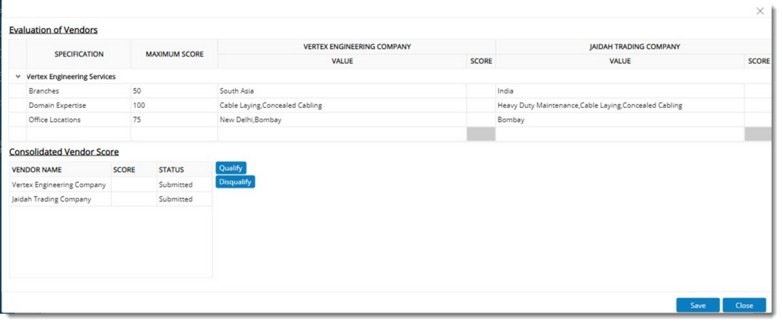
Figure: Evaluating Vendor Scores
3.Assign a score to each specification, against each vendor.
The score will be cumulated against each vendor and displayed as ‘Consolidated Vendor Score.’
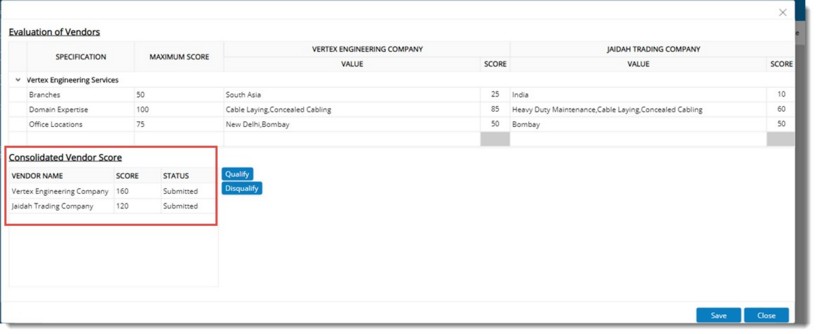
Figure: Consolidated Scores
NOTE: User can type in the score only within the maximum score given in the Template. If the maximum score given in the Template creation window is ‘0’, then the score field in consolidate window will be disabled.
4.Click Save to store the entered scores.
Qualifying and Disqualifying Vendors
Single or multiple vendors can be selected and they can be qualified or disqualified..
To qualify vendor
1.On the Vendor Qualification window select the Vendor that you want to qualify and click Qualify.
Vendors are qualified successfully message is displayed. Status of the vendor changes to Qualified and is indicated by a green tick mark.
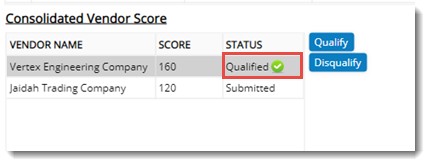
Figure: Qualifying a Vendor
To disqualify a vendor
1.On the Vendor Qualification window select the Vendor that you want to qualify and click Disqualify
Status of the vendor changes to Disqualified and is indicated by a red cross mark.
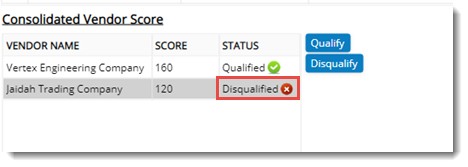
Figure: Disqualifying a vendor
Viewing Pre-qualification details
Details of the pre-qualifications can be viewed from the Vendor Pre-qualification window.
To view vendor prequalification
1.Select the Pre-qualification and On the tool bar click Details.

Figure: Viewing Prequalification Details
Pre-qualification Details window is displayed.
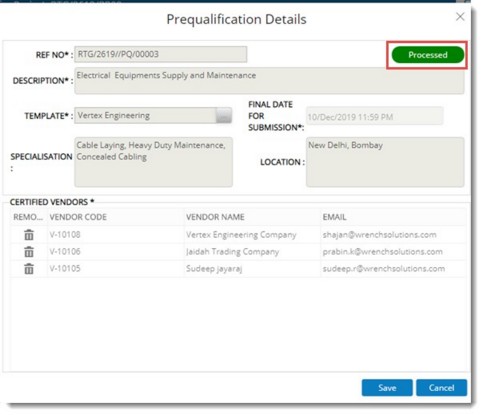
Figure: Pre-qualification Details window
Here details of the Pre-qualification and status of the submitted pre-qualification is displayed.
|