|
A work calendar for your organization can be configured here. You can define the working hours, weekly off's and other holidays in the calendar. Refer the following navigation table to create and manage your organization calender.
Opening the Calendar Master
To open the calendar Master,
1.On the master's window, click Others.
2.On the left pane, select Calendar Master.
Calendar Master window is displayed.
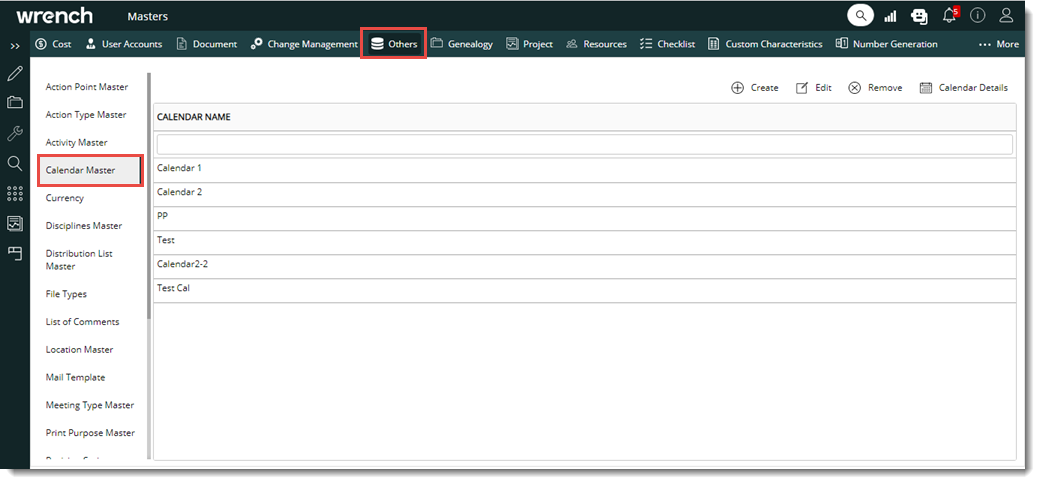
Figure: Calendar Master window
Here options to create a calendar, edit the calendar and define working time to the calendar is available.
Creating a Calendar
Usually only a user with administrative privileges is permitted to create and manage a calendar.
To create a Calendar,
1.On the Calendar Master window, click Create.
The New Calendar Creation window is displayed.
.png)
Figure: Calendar Creation Window
2.Enter the Calendar Name.
3.A calendar can be created from an existing calendar. Select the existing calendar from the drop-down list next to the field CREATE FROM.
4.Enable the checkbox, Copy the Holidays from Selected Calendar, if the Holidays of the selected Calendar are to be copied to the new calendar.
5.Enable the checkbox, Copy the Working Time and Number of Hours per week, if the Working Time and Number of Hours per week are to be copied to the new calendar.
6.Enable the checkbox, Copy the week starts from Settings, if the week starting has to be copied to the new calendar.
7.Click OK to save the calendar.
Defining Working Time
After creating a calendar, work time of the organization can be defined.
To define working time,
1.On the Calendar window, select a calendar and click Calendar Details.
The define working time window is displayed.
.png)
Figure: Define Working Time window
On this window, the following configurations can be carried out.
Set Working Time
Set Calendar Options
Setting Working Time
Every organisation has their own working time. Time Sheet entries are made based on these timings. Hence for an organization a working time must be defined in the calendar. In addition, holidays specific to the organisation can also be defined here.
To set working time,
1.On the Define Working Time window, click the tab Set Working Time.
2.On the lower half of the window, click Work Weeks tab.
3.Select the check box under the column Non-Working to define the non-working days for the organization.
4.Enter the Session Start and Session End times under the respective sessions. The column From denotes Session Start time and To denotes Session End time.
5.Enter the Overtime. This is required only if when a resource wants to work beyond the specified working hours.
6.Click Apply to save changes.
NOTE: If the sum of the working time and overtime time hours specified is greater than 24 hours, then an alert message Sum of the working time hours and overtime time hours cannot exceed 24 hours is displayed. User can make necessary changes and save the value entered for Overtime.
To define holidays,
1.Click the tab Holidays.
2.On the window click Create.
3.Select the holiday date from the date picker.
4.Enter a Description for the holiday.
5.The From field is updated automatically.
6.Click Apply to save changes.
Setting Calendar Options
Details like Week Start day, hours per day, hours per week and hours per month can be defined here.
To define calendar options,
1.On the Define Working Time window, click the tab Set Calendar Options.
Different settings for the calendar is displayed.
.png)
Figure: Defining Calendar settings
The following settings can be defined here.
Week Numbers are for whole year (52 weeks): Select the radio button next to this option if the week number in time sheet submission window is displayed from 1 to 52 weeks.
Week number are for each month: Select the radio button next to this option if the week number in the time sheet submission window is displayed in the form of weeks in a month.
Week Starts on: Select the day on which the week will start from a drop-down list.
Hours per day: Enter the normal working hours per day.
Hours per week: Enter the normal working hours per week.
Hours per month: Enter the normal working hours per month.
Overtime hours per day: Enter overtime hours per day.
Overtime hours per week: Enter overtime hours per week.
Overtime hours per month: Enter overtime hours per month.
1.Click Apply to save changes.
2.Click Ok to continue.
|