|
After a genealogy is created, the created genealogy can be managed using different options.
To view the options
1.On the genealogy window, place the mouse pointer over the more options icon. A pop-up menu is displayed.
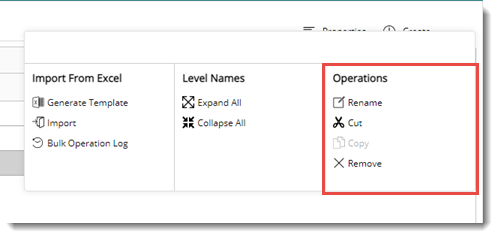
Figure: Genealogy operations menu
On the menu option Rename a genealogy, Cut and Copy the selected genealogy and Remove a genealogy is available.
To rename a genealogy,
1.On the Genealogy window, select a genealogy.
2.On the More options menu, click Rename.
The Genealogy Details window is displayed.
.png)
Figure: Genealogy Details window
3.Make necessary changes for the Code and Description.
NOTE: The changes made here may affect smart folders, checklists, advanced search results, if the modified genealogy is used in rule criteria.
4.Click OK.
The changes are saved.
To cut and paste a genealogy,
1.On the Genealogy window, select a genealogy.
2.On the More options menu, click Cut .
3.To paste, select a genealogy and click Paste.
To copy a genealogy,
1.On the Genealogy window, select a genealogy.
2.On the More options menu, click Copy.
3.To paste, select a genealogy and click Paste.
To remove a Genealogy,
1.On the Genealogy window, select a Genealogy.
2.Click Remove.
A warning message is displayed.
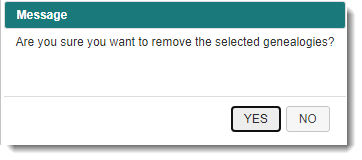
3.Click YES to remove the selected genealogy.
Managing level names
Genealogy or Levels on the genealogy window is initially collapsed with a clickable arrow to expand it. Level name can be expanded completely, and the expanded level names can be collapsed. This helps the users dive deeper into the genealogies or levels and select the required on manage the properties.
To expand genealogy levels,
1.On the More option, click Expand All .
All the genealogy levels are expanded.
To collapse genealogy levels,
1.On the More option, click Collapse All.
The genealogy will be displayed in a collapsed form.
|