|
While defining custom properties in SmartProject Masters, dependencies can be defined for custom properties so that some of the custom properties are dependent on the values of other custom properties. When custom properties with dependent values are selected while adding single or multiple documents, values get populated automatically based upon the relationship between the custom properties defined in SmartProject.
For Example: Assume that there are two custom properties CONTINENTS and COUNTRIES, both LOV type. Property CONTINENTS will have the names of all continents in its LOV. While defining the LOVs for COUNTRIES, it should be possible to relate each LOV value to a corresponding LOV value in CONTINENTS so that when one of the values of property CONTINENTS is selected, only the corresponding related values is displayed for the property COUNTRY. If value ASIA is selected for the property CONTINENT, then value for countries will be automatically INDIA, PAKISTAN, BANGLADESH, NEPAL, SRI LANKA, CHINA etc.. because a dependency exists between CONTINENTS and COUNTRIES.
Creating dependencies
Dependencies are created from the Custom Characteristics Masters window.
To create dependencies
1.On the left pane click Dependencies.
2.On the tool bar click Create.
Dependencies window is displayed. The window consists of two sections: Dependency Source and Dependency Target.
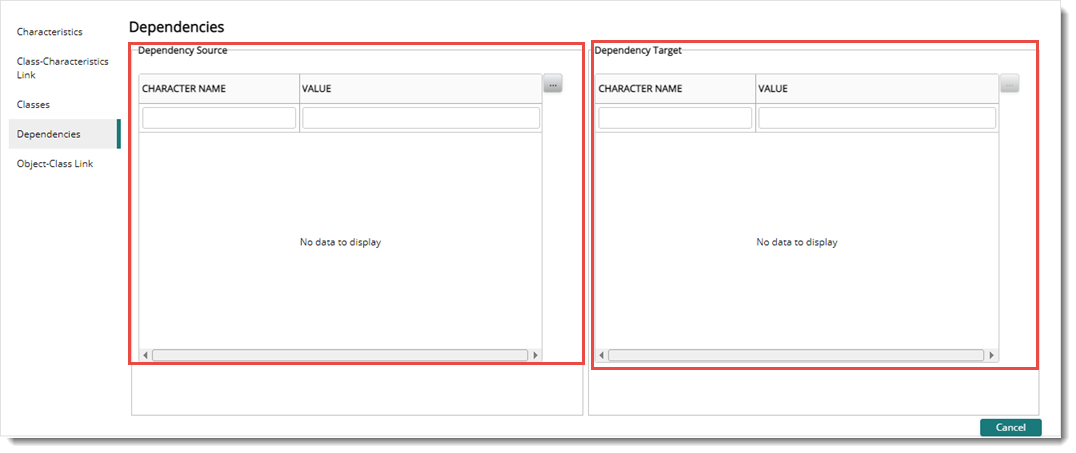
Figure: Dependencies window
To select dependency source
1.Click the browse button corresponding to Dependency Source.
Select Dependency Source window is displayed.

Figure: Select Dependency Source window
2.Click the down arrow to select a Class from the drop-down list.
On selecting a class, Character Names assigned to the class is displayed.
3.Select the check box next to a character name.
4.Click Select button to complete the selection process.
Selected characters are displayed in the Dependency Relation window. After selecting the characters next step is to select values for the characters.
To select a value for the Character.
1.On the Dependency Source pane click the field Value.
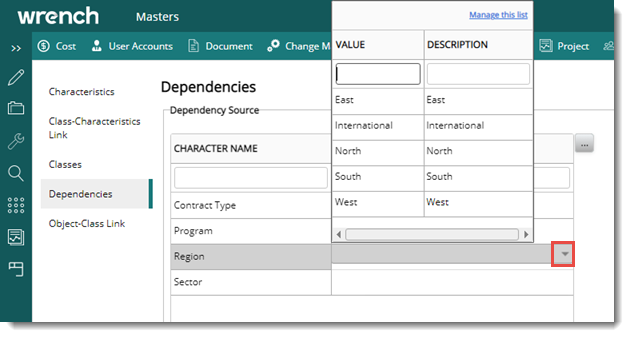
Figure: Selecting values for character
LOV’s assigned to the character are displayed.
2.Select a value.
A dependency source is created successfully.
Once a source is created, next step is to create a dependency target.
To create a dependency target
1.Click the browse button to select the dependency target.
Select Dependency Target window is displayed.
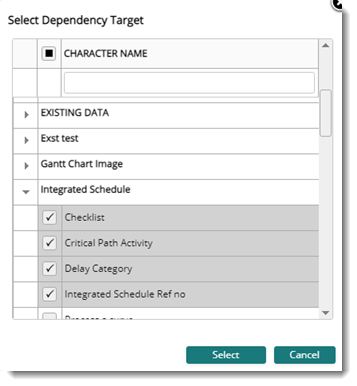
Figure: Select Dependency Target window
In the window, Character Names are grouped below class names.
2.Expand a class and select the checkbox next to the required characteristics.
3.Click Select to complete the selection.
Selected characters are displayed in the dependency target window. After selecting the characters next step is to select values for the characters.
To select a value for the Character.
1.On the Dependency target pane click the field Value.
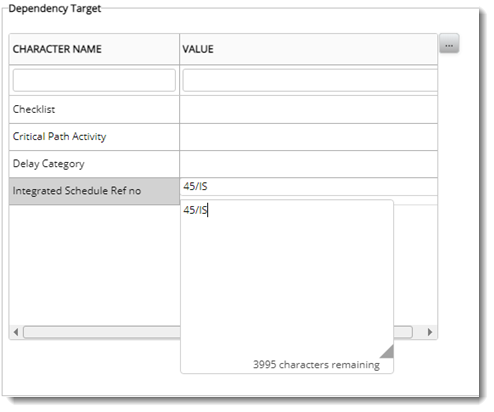
Figure: Selecting values for character
2.Select a value for the character.
A dependency target is created successfully.
To save the dependency
1.After selecting source and target dependencies and assigning values for the characters click Save.
A message Values are added successfully is displayed. The created dependency is displayed on the grid.
|