|
A bill of quantities (BOQ) is a document used in tendering in the construction industry. Materials, parts, and labor (and their costs) are itemized in this document. The detailed BOQ is prepared during the Design phase of project and Quantities are estimated based on Drawings, Specifications and calculations.
A well-defined BOM helps companies:
•It provides the quantities of various items to be procured, to tenderers.
•It defines the volume of work and Estimate material costs
•It gives estimated or anticipated contract sum. (very important to client)
•Helps to Plan purchases of raw materials and Maintain accurate records
Different topics on managing bill of quantities can be accessed using the following navigation table.
Navigation Table
Opening BOQ Module
BOQ Module is opened from the global menu.
To open BOQ module
1.On the Global menu click Modules and in the menu displayed click Bill Of Quantities.
Bill Of Quantities window is displayed. Bill of Quantities window appears as blank.
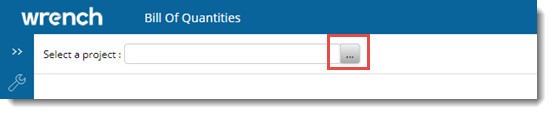
Figure: Bill Of Quantities window
2.Click the browse button to select a Project. Project Selection window is displayed.
3.Select a Project from the list. Selected Project is displayed in the Project selection box.
Adding a Specialisation
A large project may be broken down into various sub-work packages or specialisations (such as ‘Furnishing’, ‘HVAC’ etc.). Breaking down of the project into sub packages helps to assign specialized vendors for each package. The scope of project defines which all packages are applicable in the project.
To add a specialization
1.On the Bill Of Quantities window after selecting a Project, click Add.

Figure: Adding Specialisations
Specialisation Details window is displayed. The Specialisation window consist of three panes; Attachments, BOQ Assignees and Area Details. Attachments pane is expanded by default.
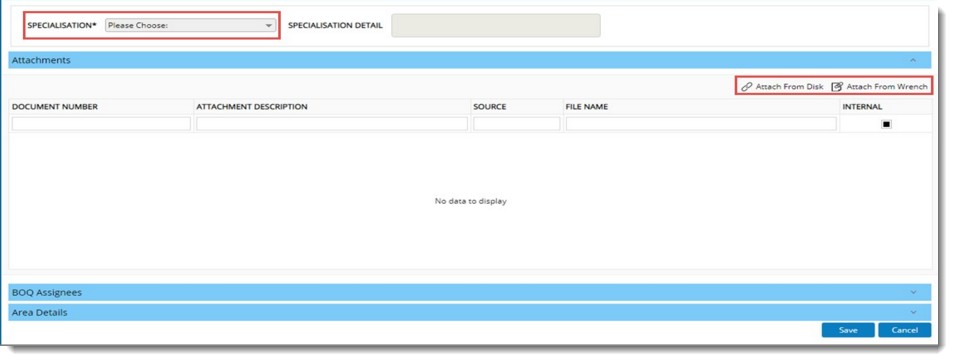
Figure: Specialisation Details window
2.Select a Specialisation from a drop-down list. Specialisation defined in the Specialisation Master is displayed in the list. Based on the selected specialisation, specialisation details are populated automatically.
Adding attachments
In case it is required to add some reference documents in the package level, these documents can be added here. Documents already available in Wrench and documents stored in locally in the system can be added as reference documents.
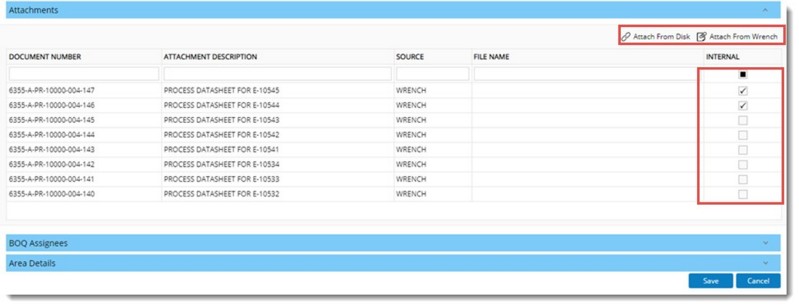
Figure: Adding Attachments
To attach documents from disk
1.On the tool bar click Attach from Disk.
2.File Selection window is displayed. Select a file from the stored location.
Selected files are displayed in the grid and the source is displayed as DISK.
To attach documents from Wrench
1.On the tool bar click Attach from Wrench.
Advanced Search window is displayed.
2.After selecting the required search criteria, carry out a search operation.
Search results are displayed in the grid.
3.Select the documents from the search results window and click Attach.
Selected files are displayed in the grid and the source is displayed as WRENCH.
On the grid the following information will be available.
DOCUMENT NUMBER: For documents added from Wrench, the document number is displayed here. For documents added externally, this column will be blank.
ATTACHMENT DESCRIPTION: Default description for Wrench document is displayed here.
SOURCE: The source of the added reference document is displayed here. For documents added from Wrench, source is displayed as WRENCH and for document added from external sources it is displayed as DISK.
FILE NAME: File name of the document.
If the checkbox under the column INTERNAL is selected for a document, then these documents will not be accessible for Vendors during E-tendering Process. The attached documents are displayed in the grid.
On selecting an added document, option to remove and download the documents are displayed On the tool bar.

Figure: Removing and downloading attachments
To delete a document
1.Select the document that is to be removed and On the tool bar click Remove.
A message Do you want to remove the selected documents is displayed.
2.Click Yes to delete the document, click No to abort the operation.
To download a document
1.Select the document that is to be downloaded and On the tool bar click Download.
Selected document is downloaded.
Adding BOQ Assignees
On the BOQ Assignees pane, a user with Manage BOQ permission can assign other resources of the same project to access the specialization BOQ and carry different operations on the BOQ.
To add BOQ assignees
1.On the BOQ Assignee pane click Add User.
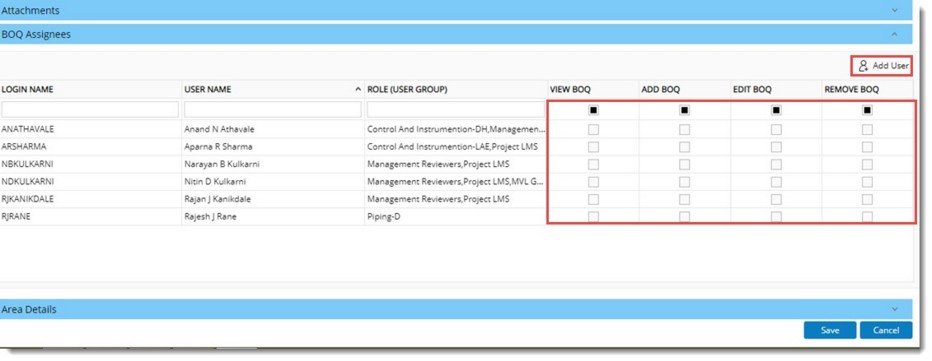
Figure: Adding BOQ Assignees
Search User window is displayed.
2.Search and select users that are to be selected as BOQ Assignees.
Selected users are displayed in the grid.
3.Click the chekcbox under a specific column, against a user to assign permission to View, Add, Edit and Remove a BOQ to a specific user.
Adding Area Details
BOQ Quantities may be split based on Project Area. In a general scenario the BOQ Items against a specialisation will be split for a predefined Area. In such cases, user can specify the required area details at a specialisation level and these details will be reflected in Quantity Split Up.
Areas can be added from the Area Details pane.
To add areas
1.On the Area Details pane click Add/Remove Area.
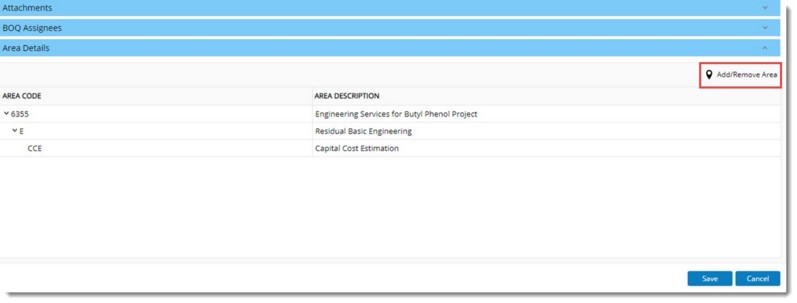
Figure: Adding area details
Area Selection window is displayed. Here Areas defined for the project is displayed.
2.Select the checkbox next to an Area from the list and click OK.
Selected areas are displayed in the grid.
1.After entering all details click Save.
2.Specialisation Details saved successfully message is displayed. Click OK to continue.
Created BOQ's are displayed in the grid.

Viewing and updating specification details
Specialisation details can be viewed and modified.
To view and modify specialisation details
1.On the Bill of Quantities window select the specialisation that is to be updated. On selecting a specialisation, option View/Update will be displayed On the tool bar.
2.Click View/Update.
Specialisation Details window is displayed.
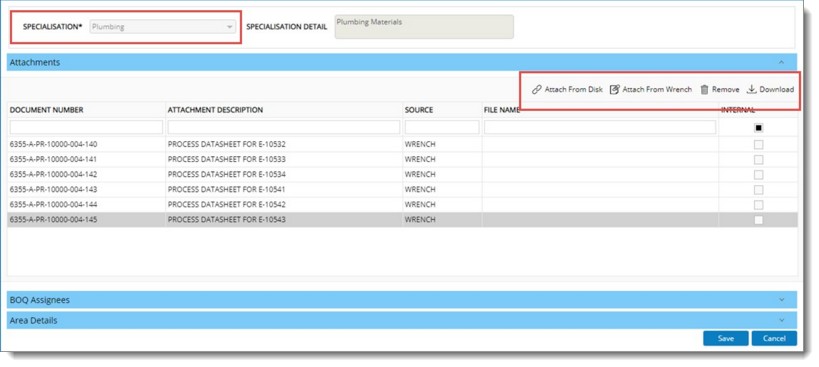
Figure: Specialisation Details window
On the window Specialisation name and description cannot be edited. Provision to Add attachment, Remove Attachment, download Attachments, Add Assignees. Remove Assignees and Add/Remove Project Area will be available for user with security rights.
Exporting BOQ
Full BOQ in tree structure can be exported. Once the export operation is completed, User will receive a mail notification and an internal notification once export is completed successfully or if the operation fails. Details of specialisations failed while exporting will be listed in a table in the mail.
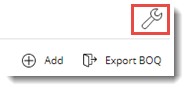
To export BOQ
1.On the Bill of Quantities window click Export BOQ.
The following message is displayed.
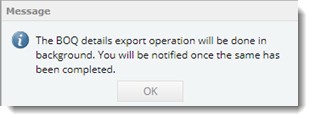
2.Click OK to continue.
Defining permissions for managing BOQ
Once a project is created, the Project manager can provide Manage BOQ Permission to the Project users. Only if a user has ‘Manage BOQ’ permission , user will be able to link a specialization with the Project , assign permission view, edit, add and remove BOQ to other project users.
To define manage BOQ permission
1.On the Bill of Quantities window click Project Settings icon.
BOQ Management settings for Project is displayed. List of project resources are displayed here.
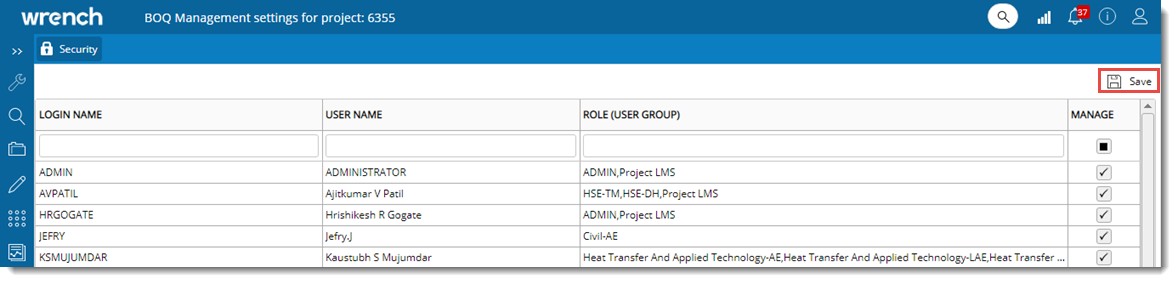
Figure: BOQ management settings for Project window
2.Select the checkbox under the column MANAGE, to provide Manage Specialization rights to other project Users.
3.Click Save to store changes.
|