|
When tasks are created in Smartproject, all the properties displayed on the Create Task window may not be required for some organizations or resources. Hence the task creation window can be customised based on the requirement of the user or organization. This means only the properties that are required for a user or user group is displayed on the window.
After selecting the required properties views can be created. This view can be saved. Similar customised views can be created for the task details window also. Customisation of Create Task window and Task Details window is carried out from the Genealogy Configuration window.
To open the UI Customisation window
1.On the Genealogy Configuration window for tasks, click the tab UI Customization.
UI Customization window is displayed.
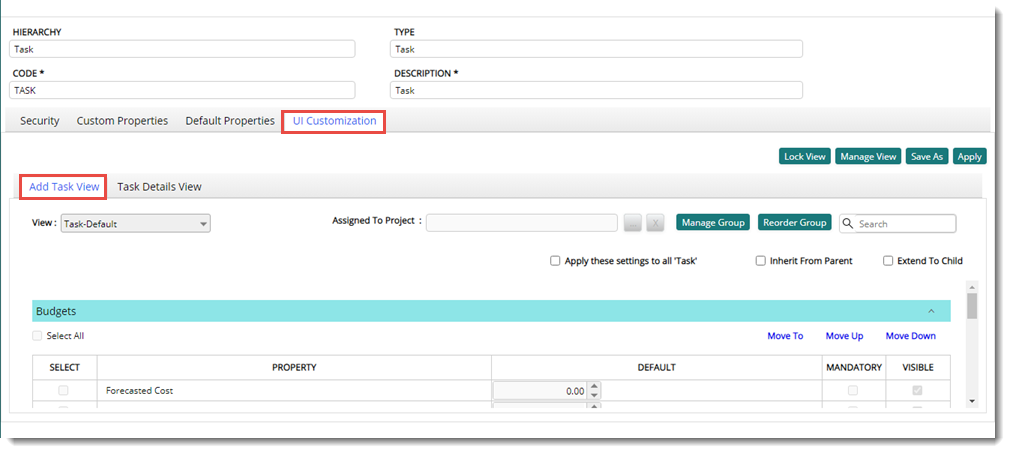
Figure: UI Customisation window
The window consists of two tabs, Add Task View, and Task Details View. By default, the tab Add Task View is selected.
Creating a view for the task creation window
Different departments in an organization may find that while creating tasks, properties irrelevant to them are causing lots of confusion. Only fields required for each department needs to be available while creating tasks.
The create task window can be customised with the properties that are to be made available under Basic Details, Advanced Details, Correspondence Details and Custom Details can be defined. For this, views are created with selecting the required properties. Default values can be specified for the properties and position of the property can be define.
To create a view
1.On the UI Customisation window click the tab Add Task View. Usually this tab is selected by default.
On the Add Task View window different document properties are grouped in panes. The panes are labelled similar to the pane labels in Create Task Window.
2.Select the Default View. The default view cannot be edited.
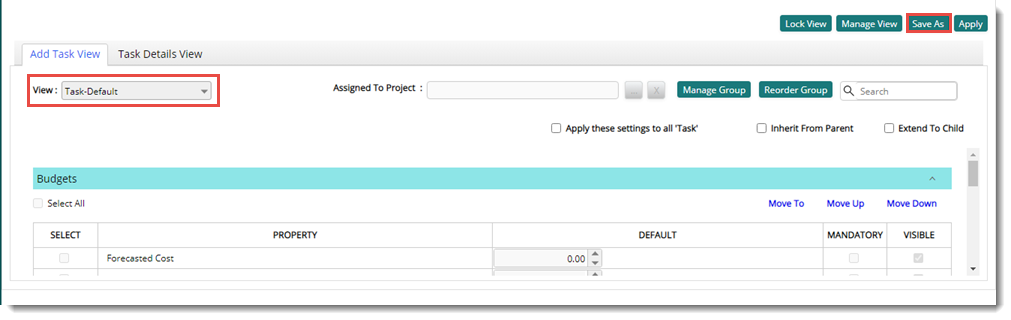
Figure: Saving the default view as new view
3.On the window click Save As. Custom View window is displayed.
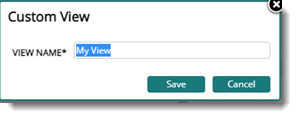
4.Enter a View Name. Click Save to save the new view.
The saved view is displayed.
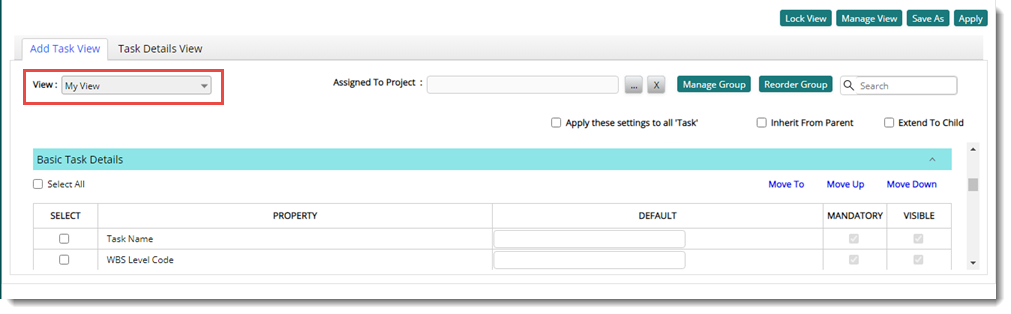
Figure: Saved View
5.Select the checkbox on the column VISIBLE to display the property on the Create Task window. The checkbox next to mandatory properties are selected by default and cannot be cleared.
6.On the column DEFAULT, enter the default value for the property. The value entered here is displayed on the Create Task window. The default value can be edited from the Create Task window.
7.Select a property and click Move Up or Move Down to change the position of the property on the Create Task window.
8.Click Apply to save the changes to the new view. A message View saved successfully is displayed.
On the Create Task window if this view is selected, the window is customised based on the selected view.
Assigning views to a Project
Views created can be assigned to a Project. While creating a task, on the Create Task window if the Project is selected, the create task window is customised based on the view assigned to the Project.
To assign views to a Project
1.On the Add Task View window click the browse button next to the option Assigned to Project.

Project Search window is displayed.
2.On the window, select the Project to which the view is to be assigned.
3.After selecting the projects, click Apply to save the selection.
Managing and Re-ordering groups
The properties on the task create window are grouped below different panes. In addition to the panes that is displayed by default, additional group panes can be created properties can be moved to the newly created group. Also the order of the group panes can be changed.
To create a group pane
1.On the UI Customisation window click the button Manage Group. Group List window is displayed.
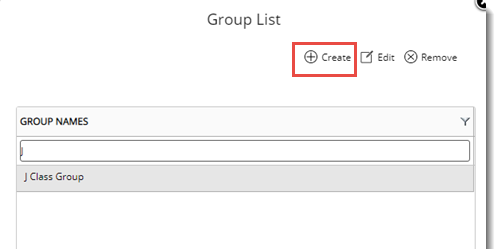
Figure: Group List window
2.On the window click Create. A new property Group Name is displayed on the top portion of the Group List window.
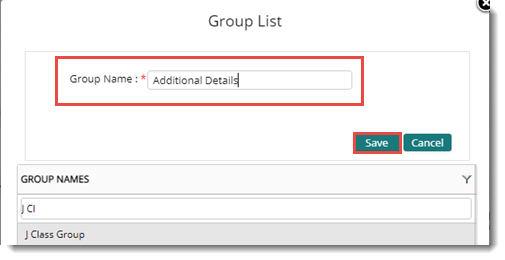
Figure: Creating a group
3.Enter a group name and click Save. A message Group saved successfully is displayed.
The created group is listed on the Group List window.
To move a property to the group
1.On the Add Task View window select a Property and click Move To.

Figure: Moving property to a group
2.Group List window is displayed. On the window select the group to which the property is to be moved.
3.Click OK.
The selected property is moved to the group and is displayed on the Add Task View window.

Figure: Moved property in the new group
Managing Views
Created views can be deleted and view name can be edited.
To delete views
1.On the Add Task View window click the button Manage View.
View List window is displayed. Here all the available views are listed.
2.Select a view and click Remove to delete the view.
If the selected view is used as a default view, a warning message is displayed and the operation is cancelled. Or else the view is removed.
To edit views
1.On the Add Task View window click the button Manage View.
View List window is displayed. Here all the available views are listed.
2.Select a view and click Edit to modify the view. The view name is displayed in edit mode.
3.Modify the view name and click Save to store changes.
Customising the task details window
The elements on the document details window can also be customised and saved as views.
To customise the document details window
1.On the UI Customisation window click the tab Task Details View.
Task Details View window is displayed.
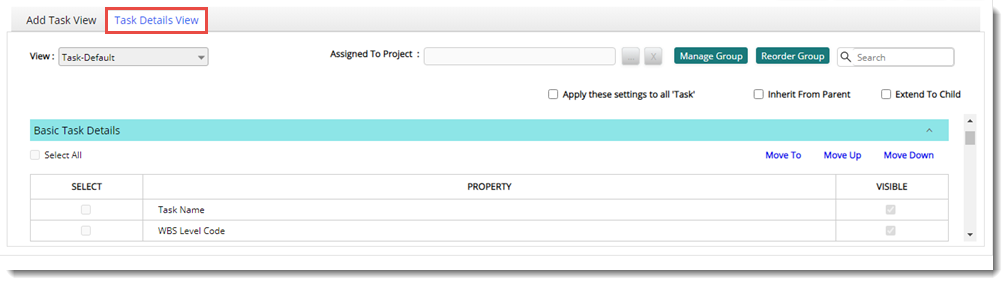
Figure: Task Details View window
The elements displayed on the window is similar to those in Add Task View window. For creating a custom view for task details window follow the steps mentioned in the topic Customising the Task Document window.
NOTE: While customising task details window values cannot be speciifed for the field PROPERTY.
|